Do you spell it donuts or doughnuts?? I spell it “GET IN MY BELLY!”
I wanted to take a deeper look into this sugary fashion shoot, so let’s take a look! You can watch the video below, read the transcript/article below that, and view the final gallery at the bottom of the page.
This was actually the first sugary delight we used to kick off this Sugar Editorial Fashion Series, and although it was a time for experimentation it did not disappoint!
Transcript/Article:
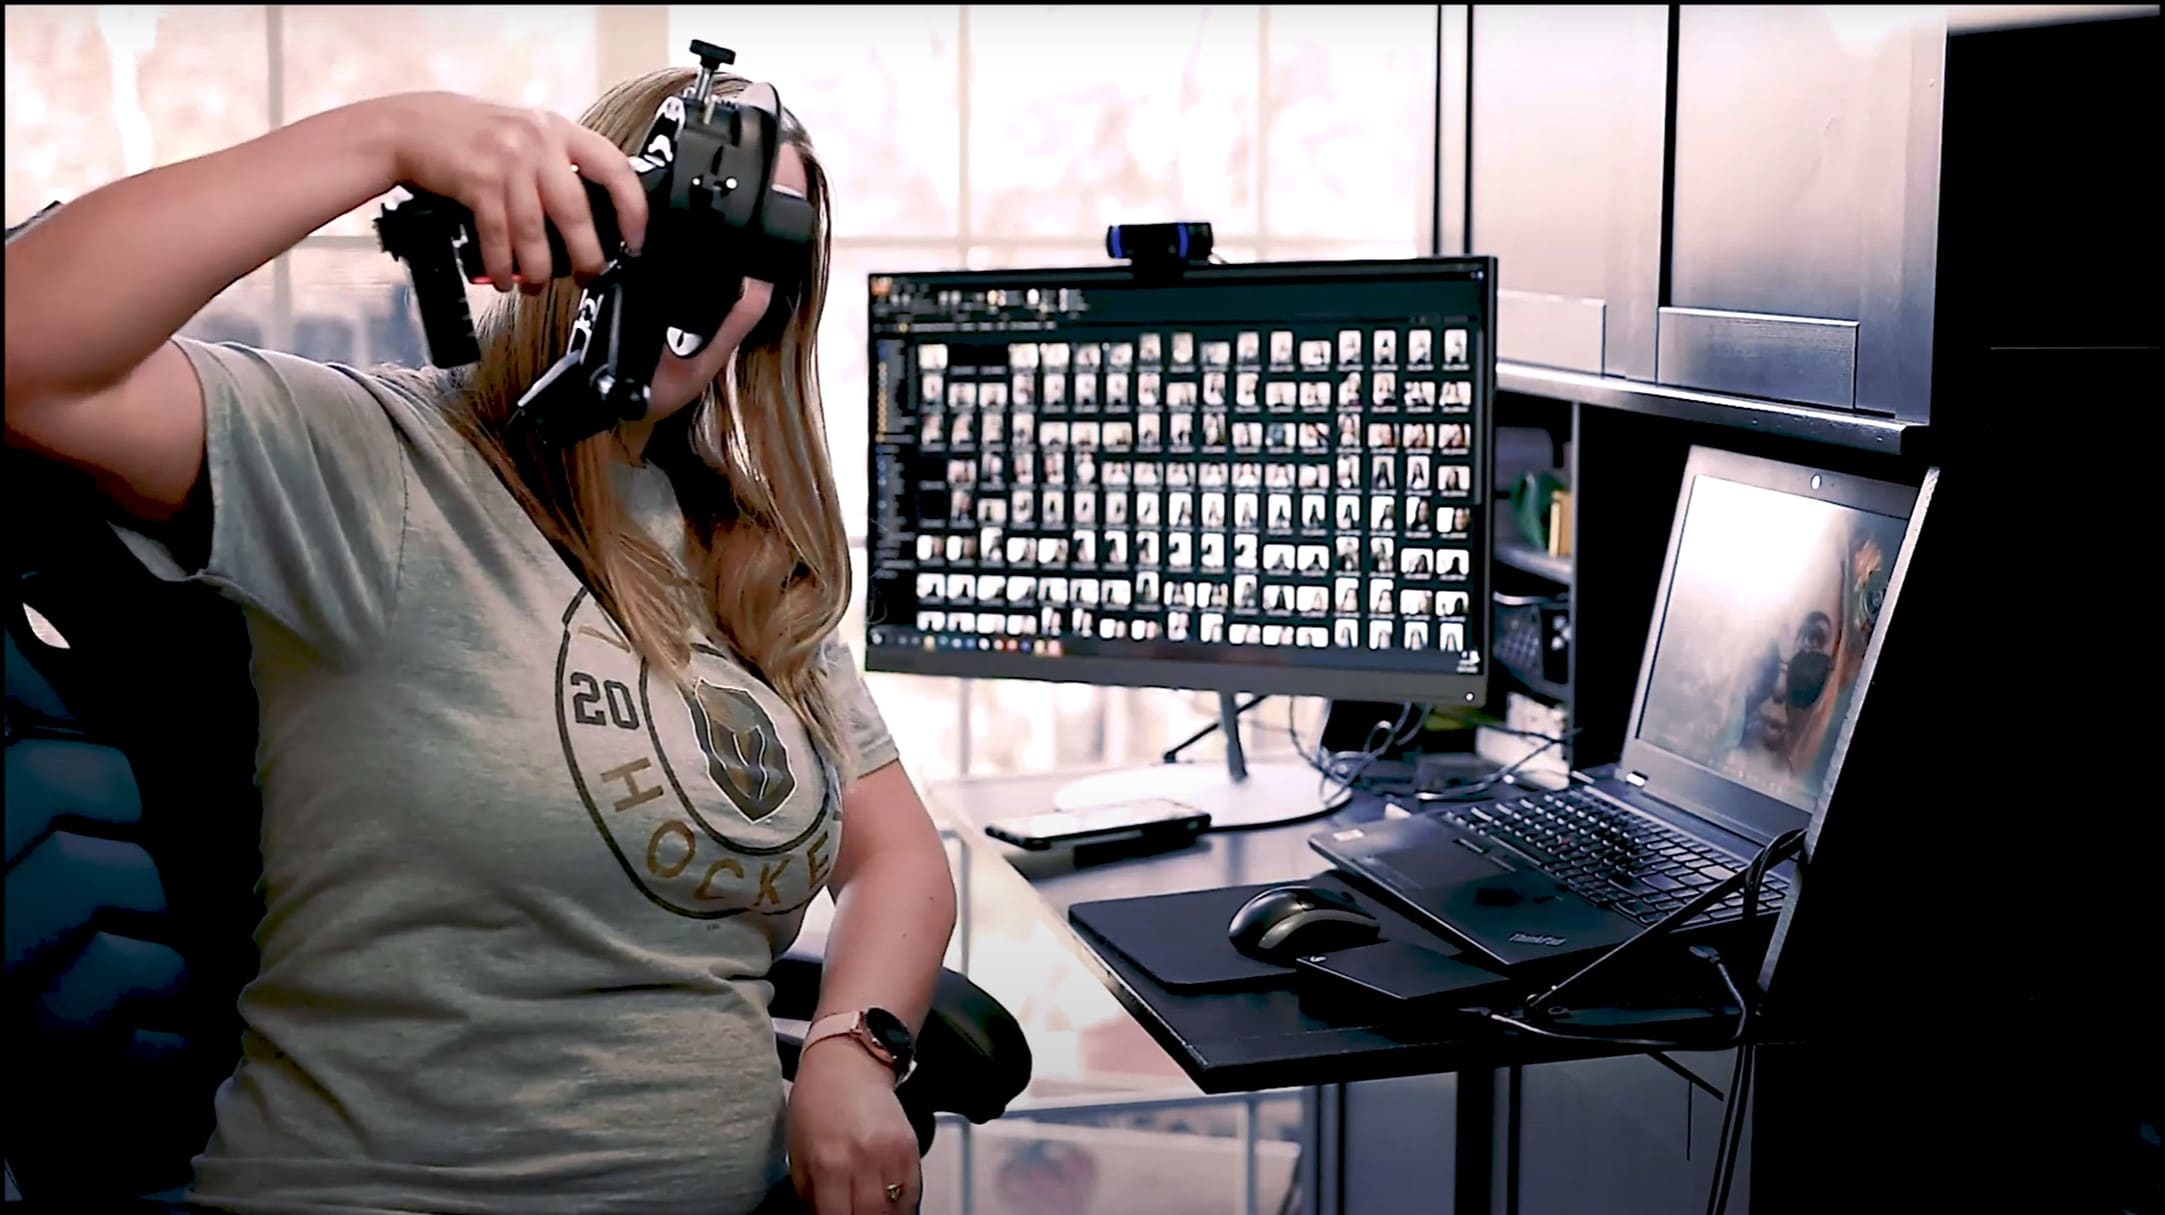
Hey guys! Thanks for joining along with my Sugar Editorial Shoot Series that I’m currently working on sharing. I’m Kathleen Lemmon at Lucy L Photography–if you don’t recognize the face. Maybe I look a little different with my little pregnant belly here.
But anyways I wanted to dive in and talk about some of these Sugar Editorial Shoots, so let’s go ahead and let’s take a look right now at the Dount Shoot!
Trying New Lighting Techniques
I actually wanted to take you through some of the lighting for this entire Sugar Editorial Series and how it evolved with some of the images throughout the series: starting with the Donut Shoot.
So, first what I want to talk about is the concept of the lighting that is typically used: harsh light and soft light. And in this series, I’ve done a little bit of a combination of both.
Soft Lighting: Flattering, Forgiving, and Fairly Easy to Master with a Softbox!
You’ll hear the term “softbox” used a lot, and that’s what people will use with various lighting tools to help make light softer.
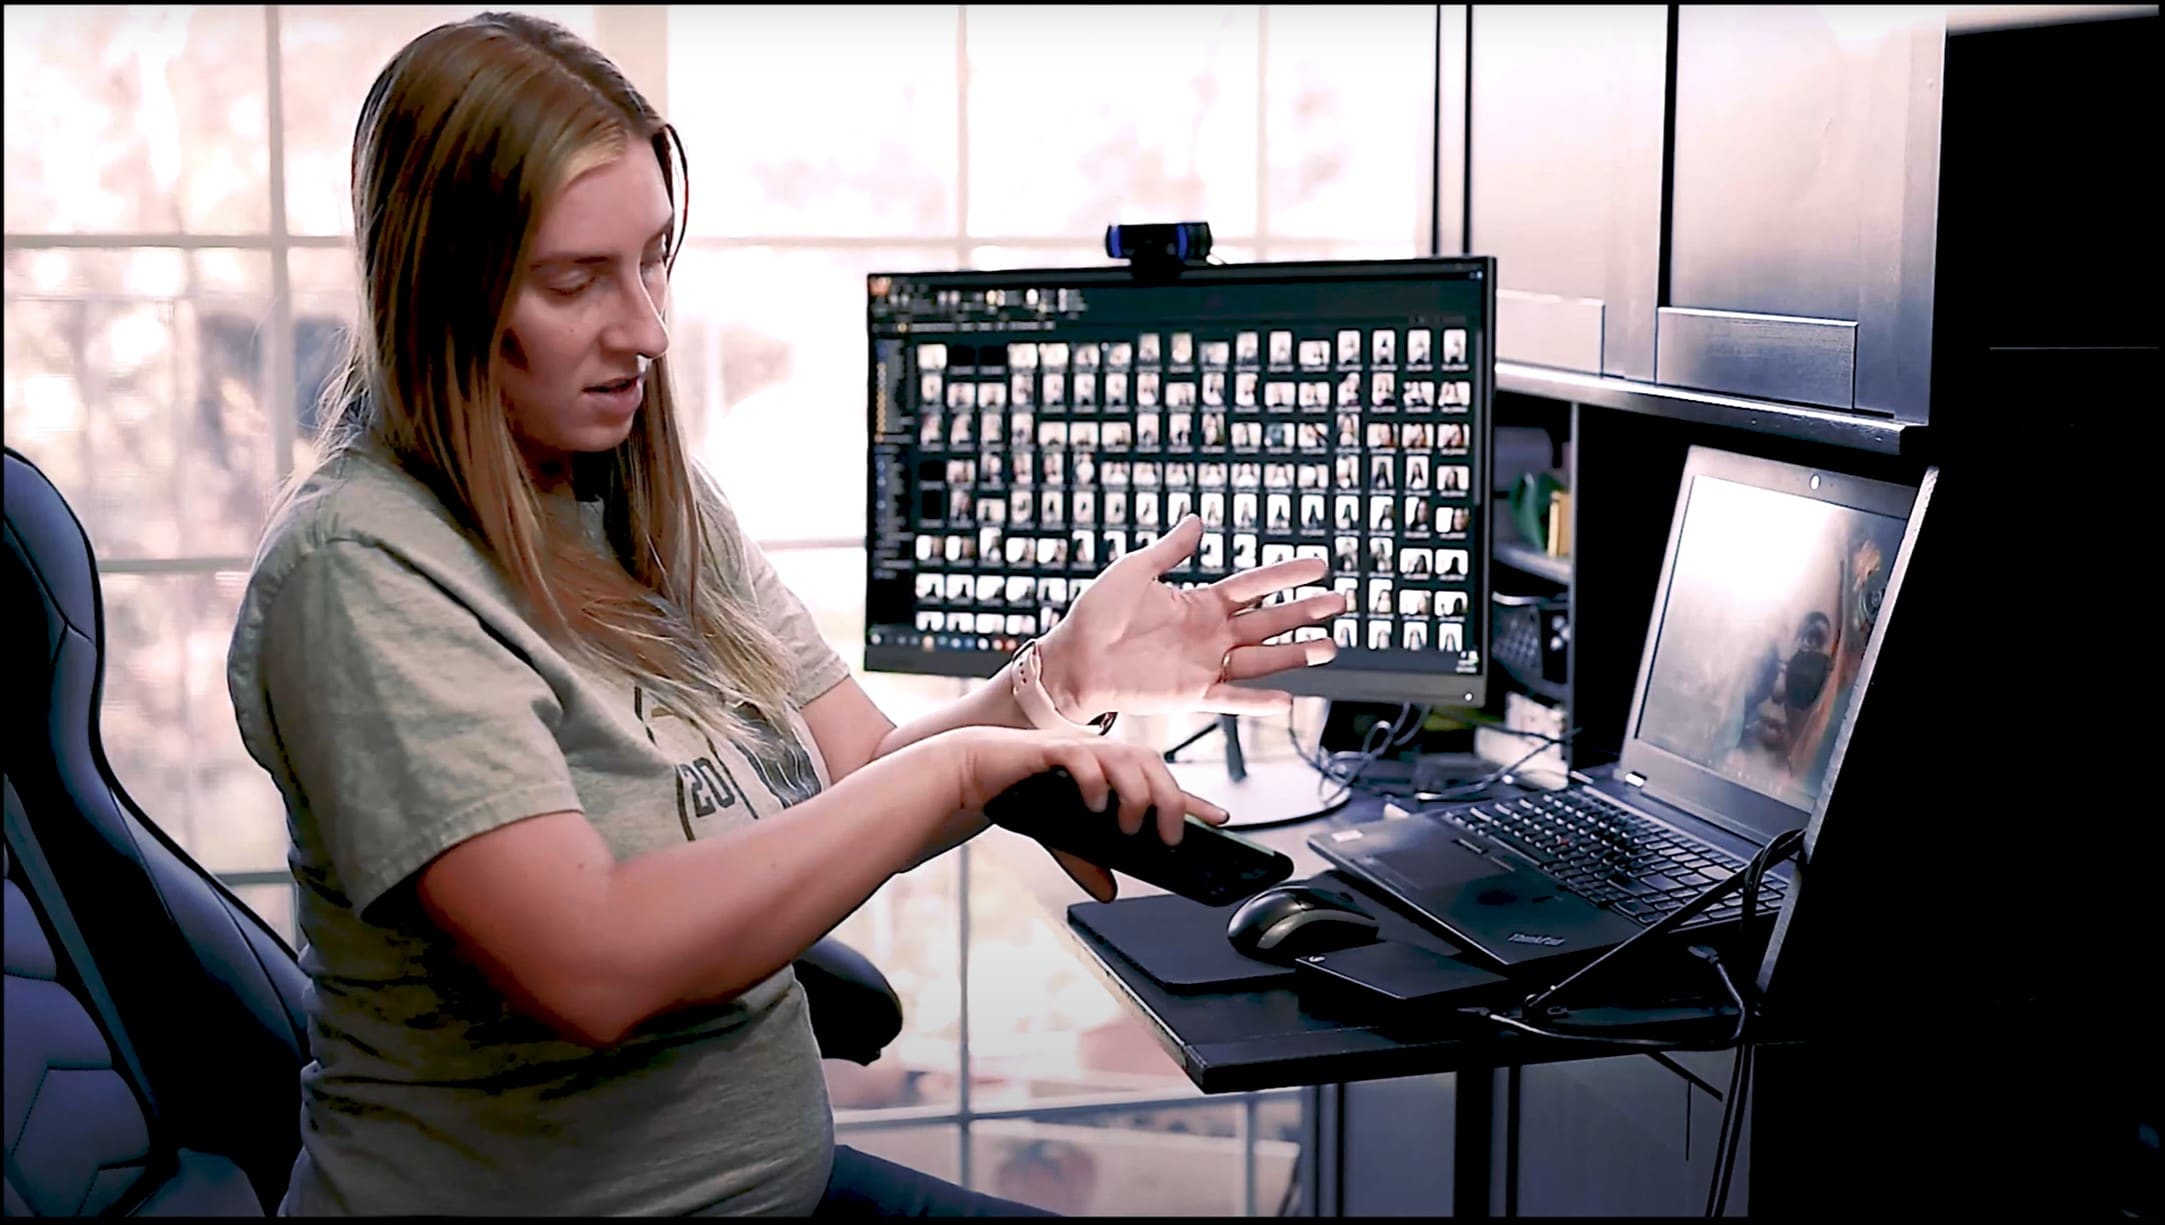
What is soft lighting? Well look at my hand right here:
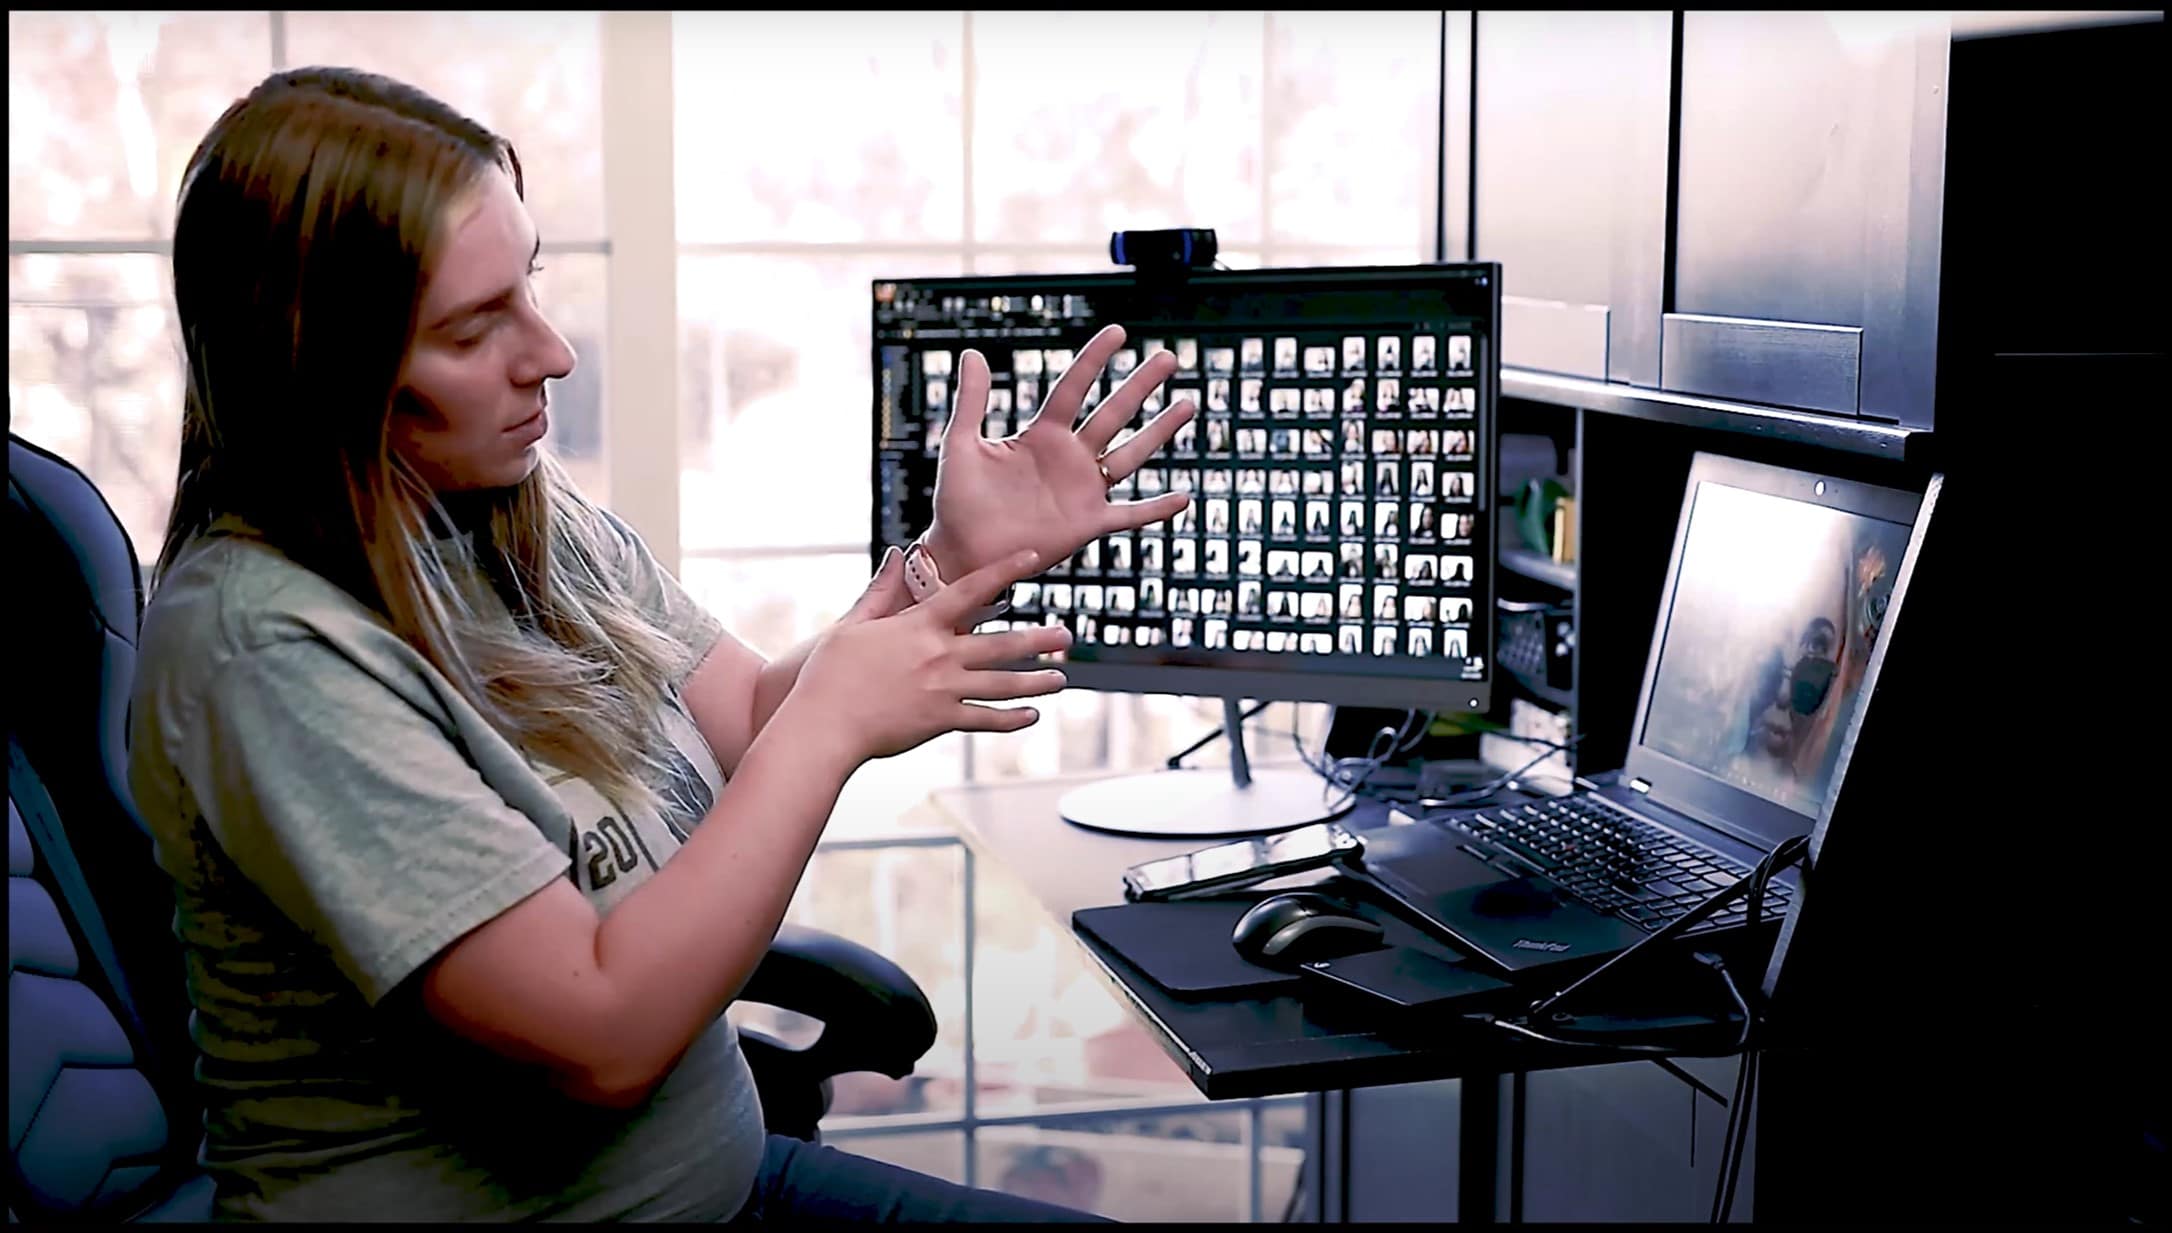
See how the shadows are not quite as pronounced? If I turn my hand it’s still somewhat even lighting: there are still shadows there but they are a little bit softer. You usually get softer light like window light, and when photographers want that they’ll use a softbox to create that.
What is a Softbox?
Take a lighting tool, like this speedlite—and the light comes out from the tool. But to soften it, they’ll bounce it onto something white or silver, which is then reflected out as a bigger light source that is usually diffused out of a white fabric. This white fabric is the front the umbrella or softbox (two most common softbox tools). That process of amplifying and then diffusing the light like that then makes the light a lot softer.
So, I’ll show you some of the images where I’ve used softer light for this set now:
I feel like I’ve got softer light with a softbox down more to a formula—meaning I understand how to create it fairly consistently and successfully each time.
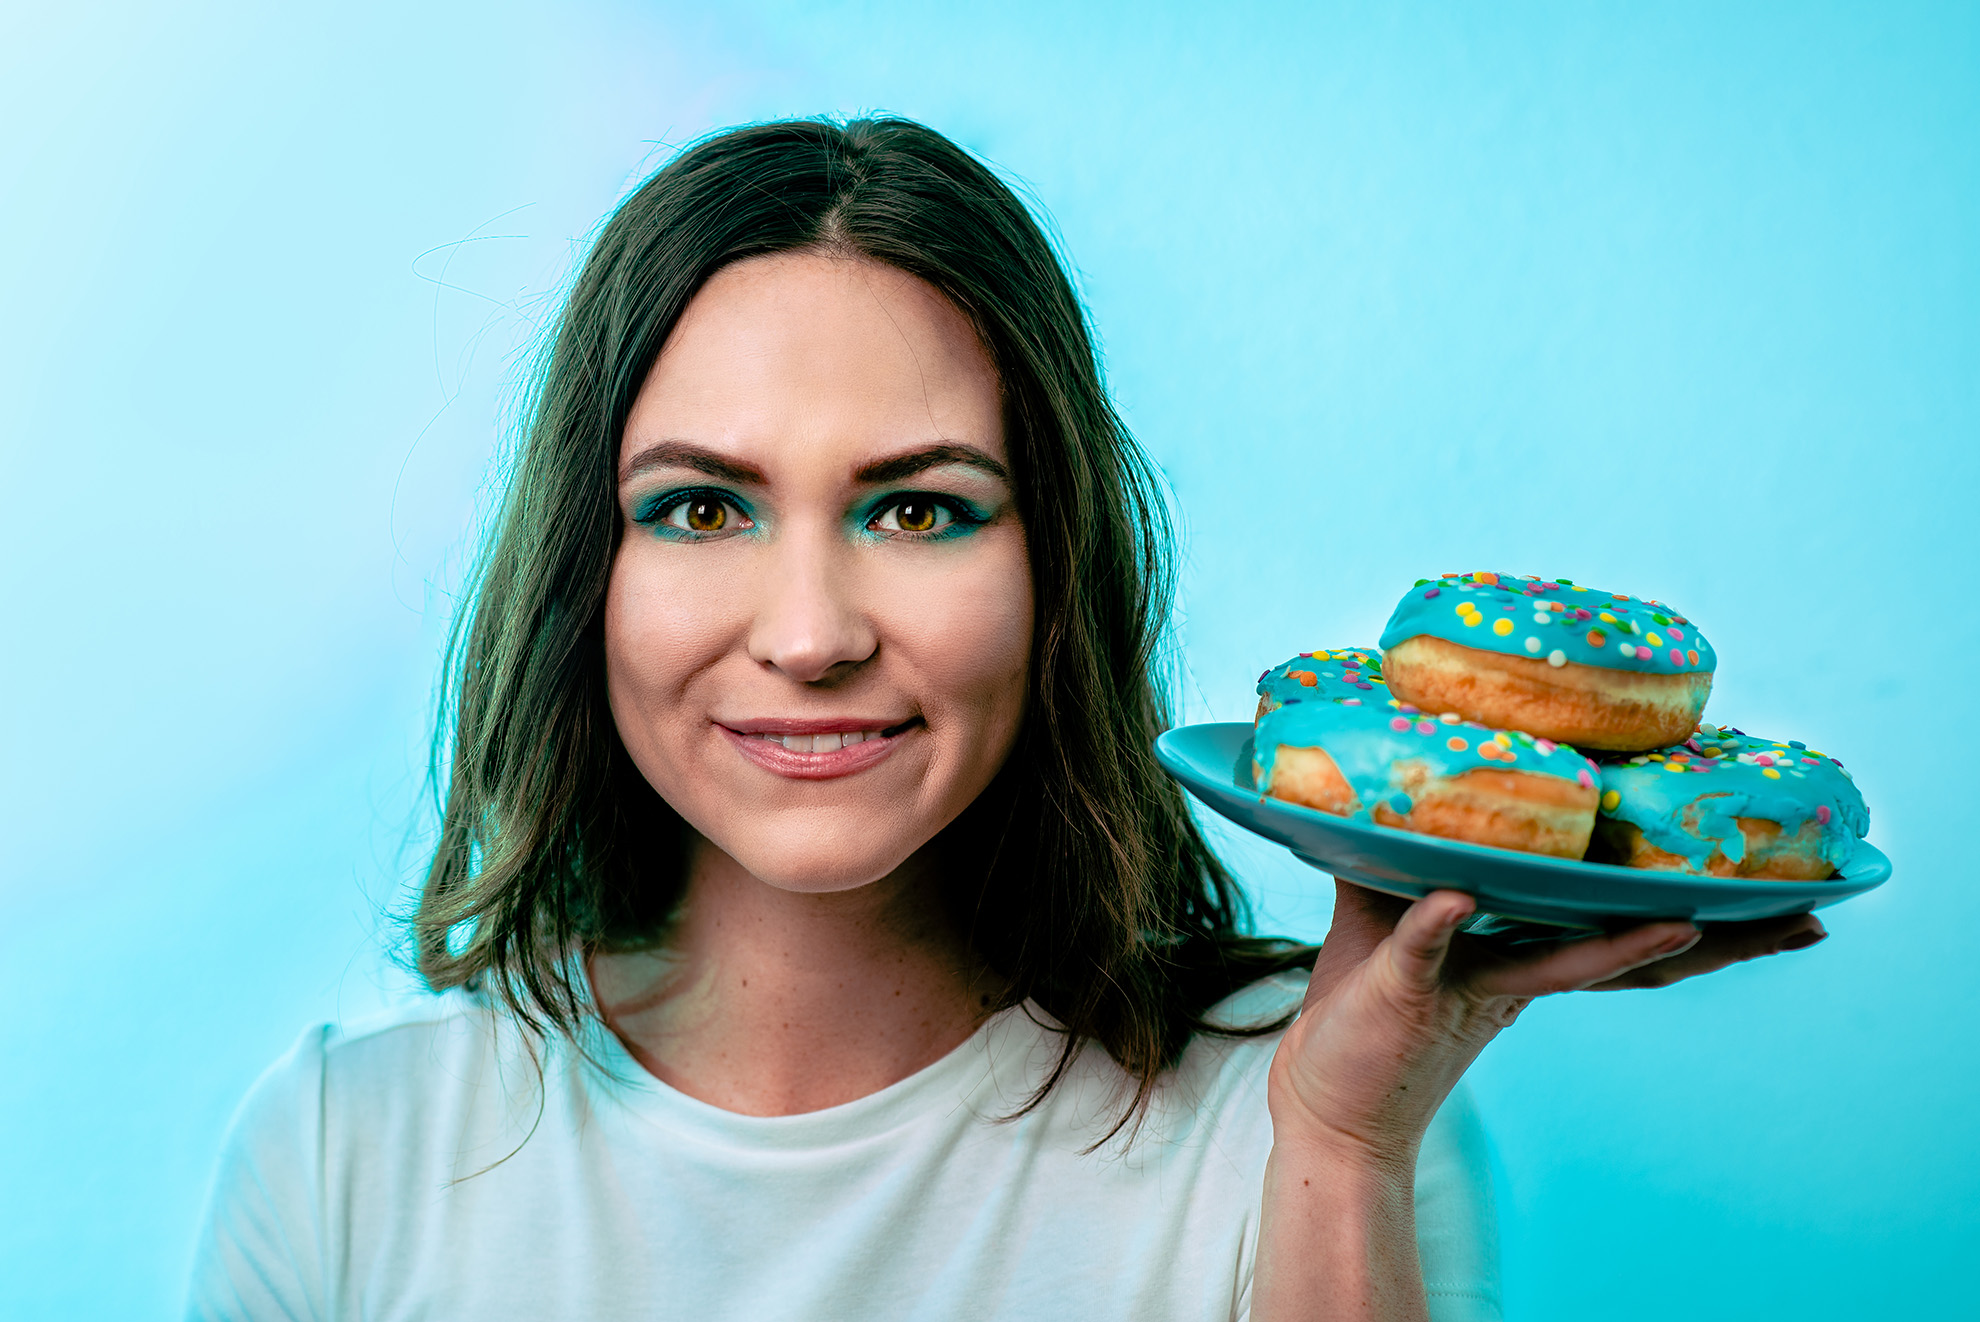
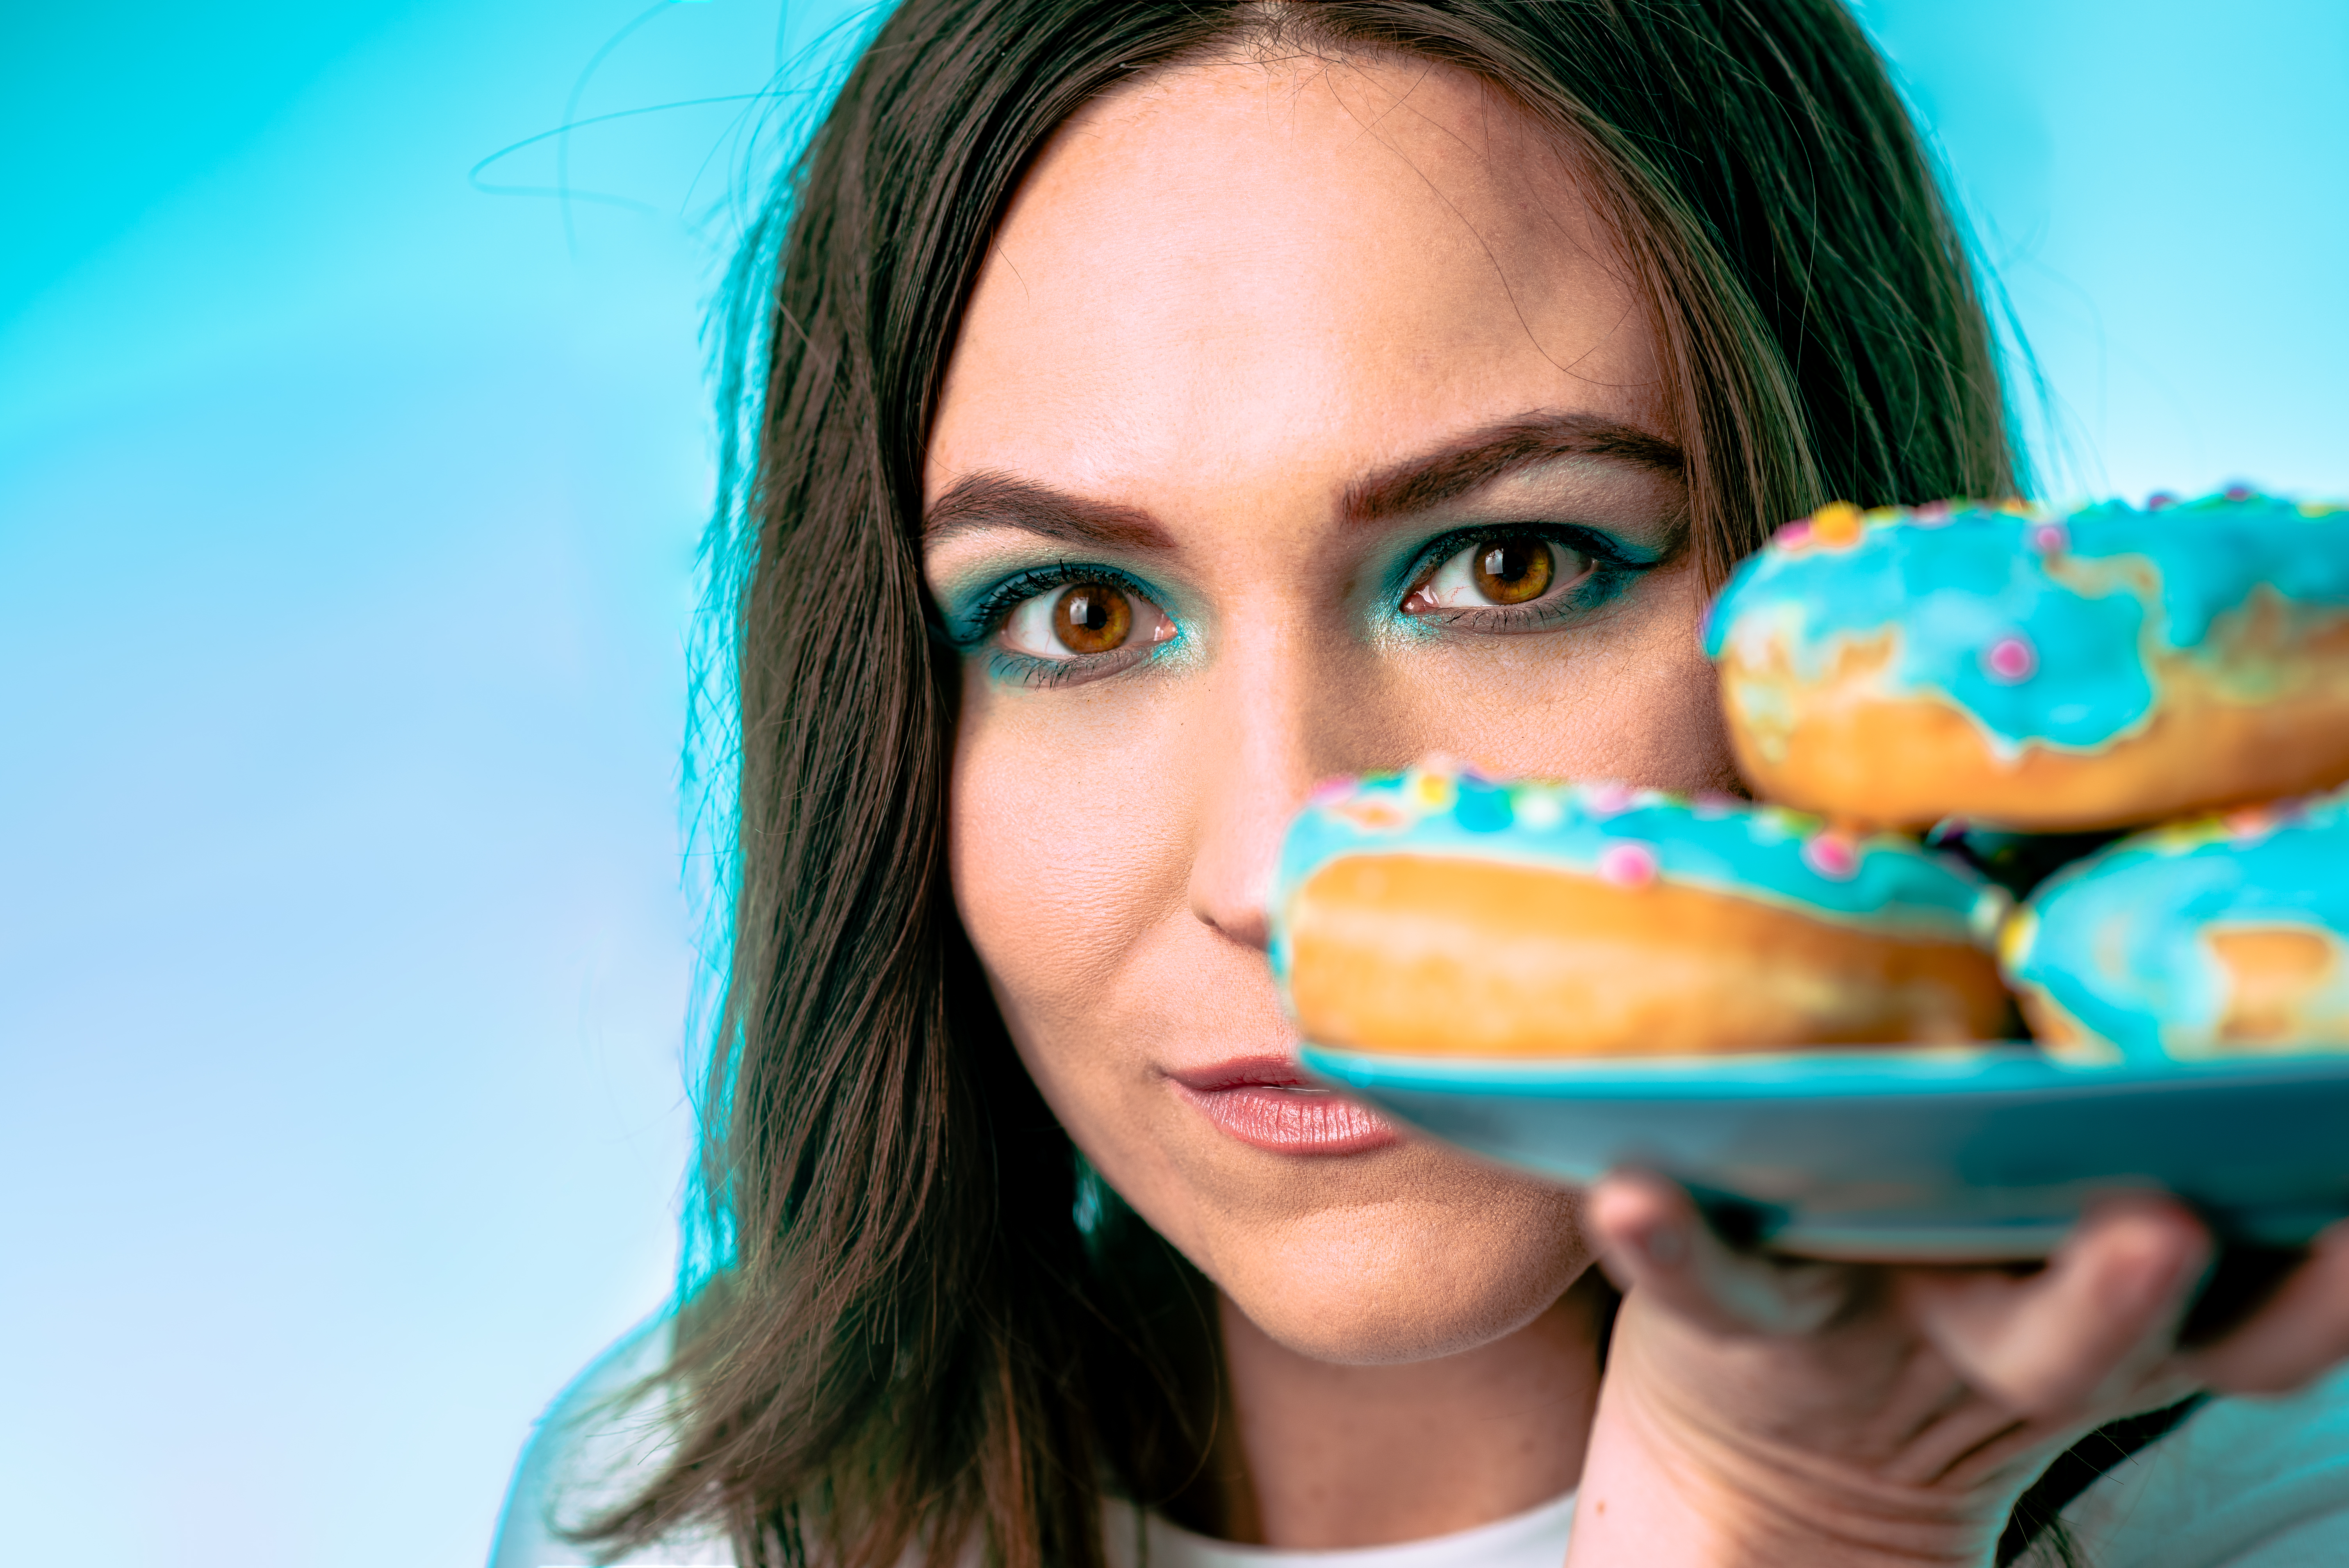
Color Matching to the Donut Frosting: Colored Backdrops with a Speedlite and Gel
I will actually use a softbox/soft light in combination with another speedlite with a gel that is placed behind the subject. With the gel on the speedlite—which is this little colored thing right here (this is a gel)–and that’s what I’ll use to actually create the backdrop colors for many of my photos.
I use this technique because I simply don’t have the time, space, or money to be able to store and purchase all those colored backdrops right now. Eventually, I will–but right now just doesn’t make sense.
As well, the space we were in was a small enough room (I mean it was probably only 5-6 ft wide for shooting) so that we didn’t need a backdrop in that space. I could create it off of a white wall instead!
Harsh Light: A Challenge with Unique Results and Post Processing Work
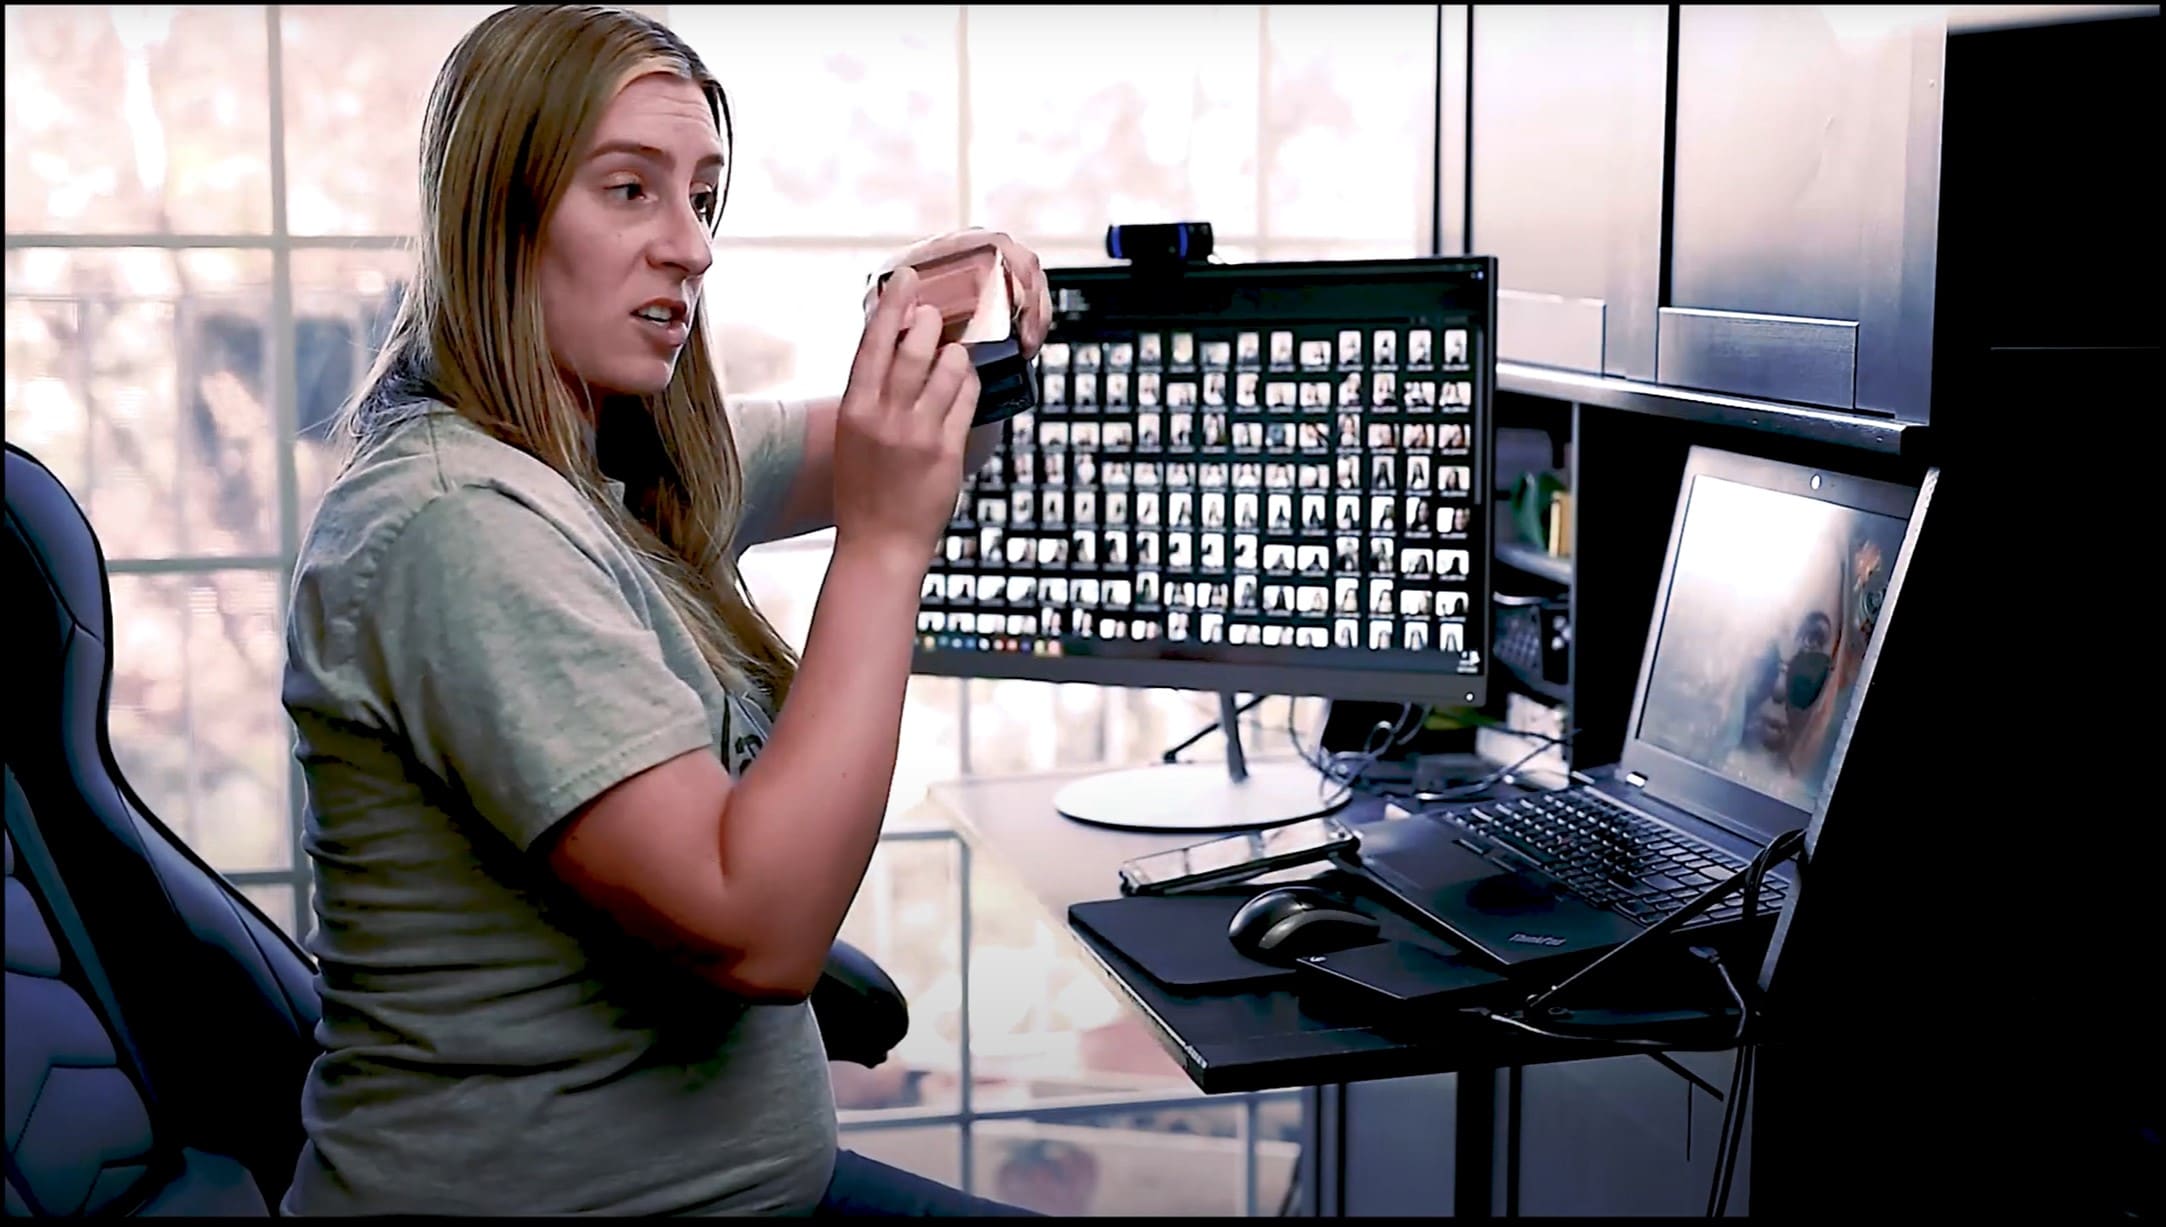
The other type of lighting is hard lighting. This is more of the type of lighting that I wanted to experiment with. I’m going to show you example (I’m not just on my phone here) of hard lighting so you can see the difference:
Right here, this is harsher light. You may be saying “Well, Kathleen it looks the same to me!” If you look straight on, but, if I turn my hand you can see the changes in those shadows. As I turn my hand, the shadows become more pronounced. This is still fairly “soft” hard lighting (in my opinion), but you can get even harder lighting.
How do you get hard lighting? All you need to do is have the light directly shine onto the subject without not any kind of diffusion to make it softer. So, it’d be like having this speedlite just firing right onto the subject.
Hard light is pretty similar to the sun. When the sun is at full force, it can be really hard light on the skin. This type of lighting is a lot less forgiving: it will show the pores and texture in more detail.
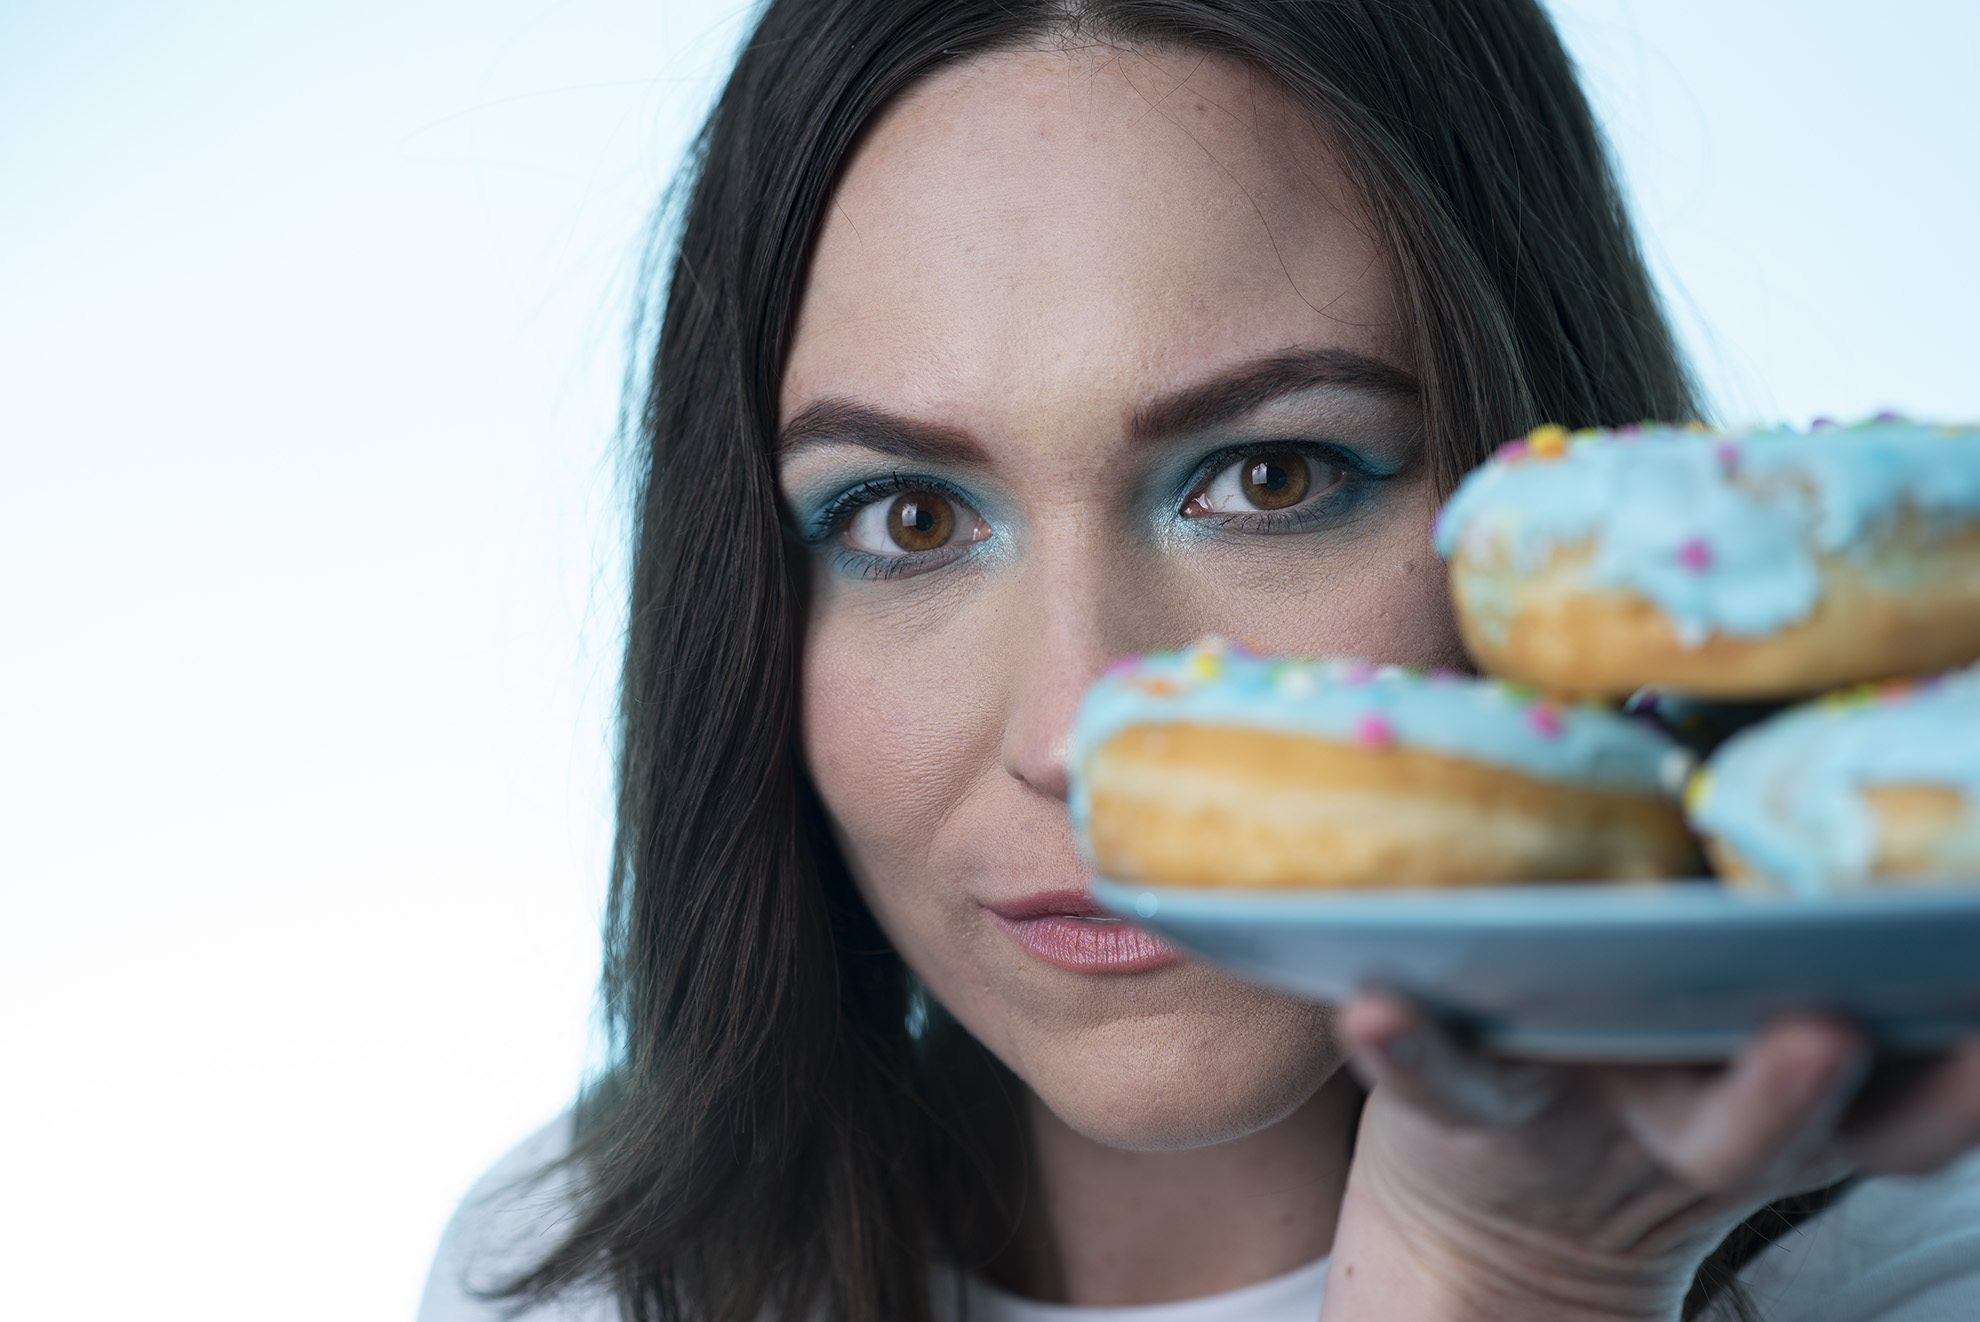
But that’s a challenge I actually like to work with and challenge myself with because I think you can get some unique lighting with that style. You can see it here in the Donut Shoot:

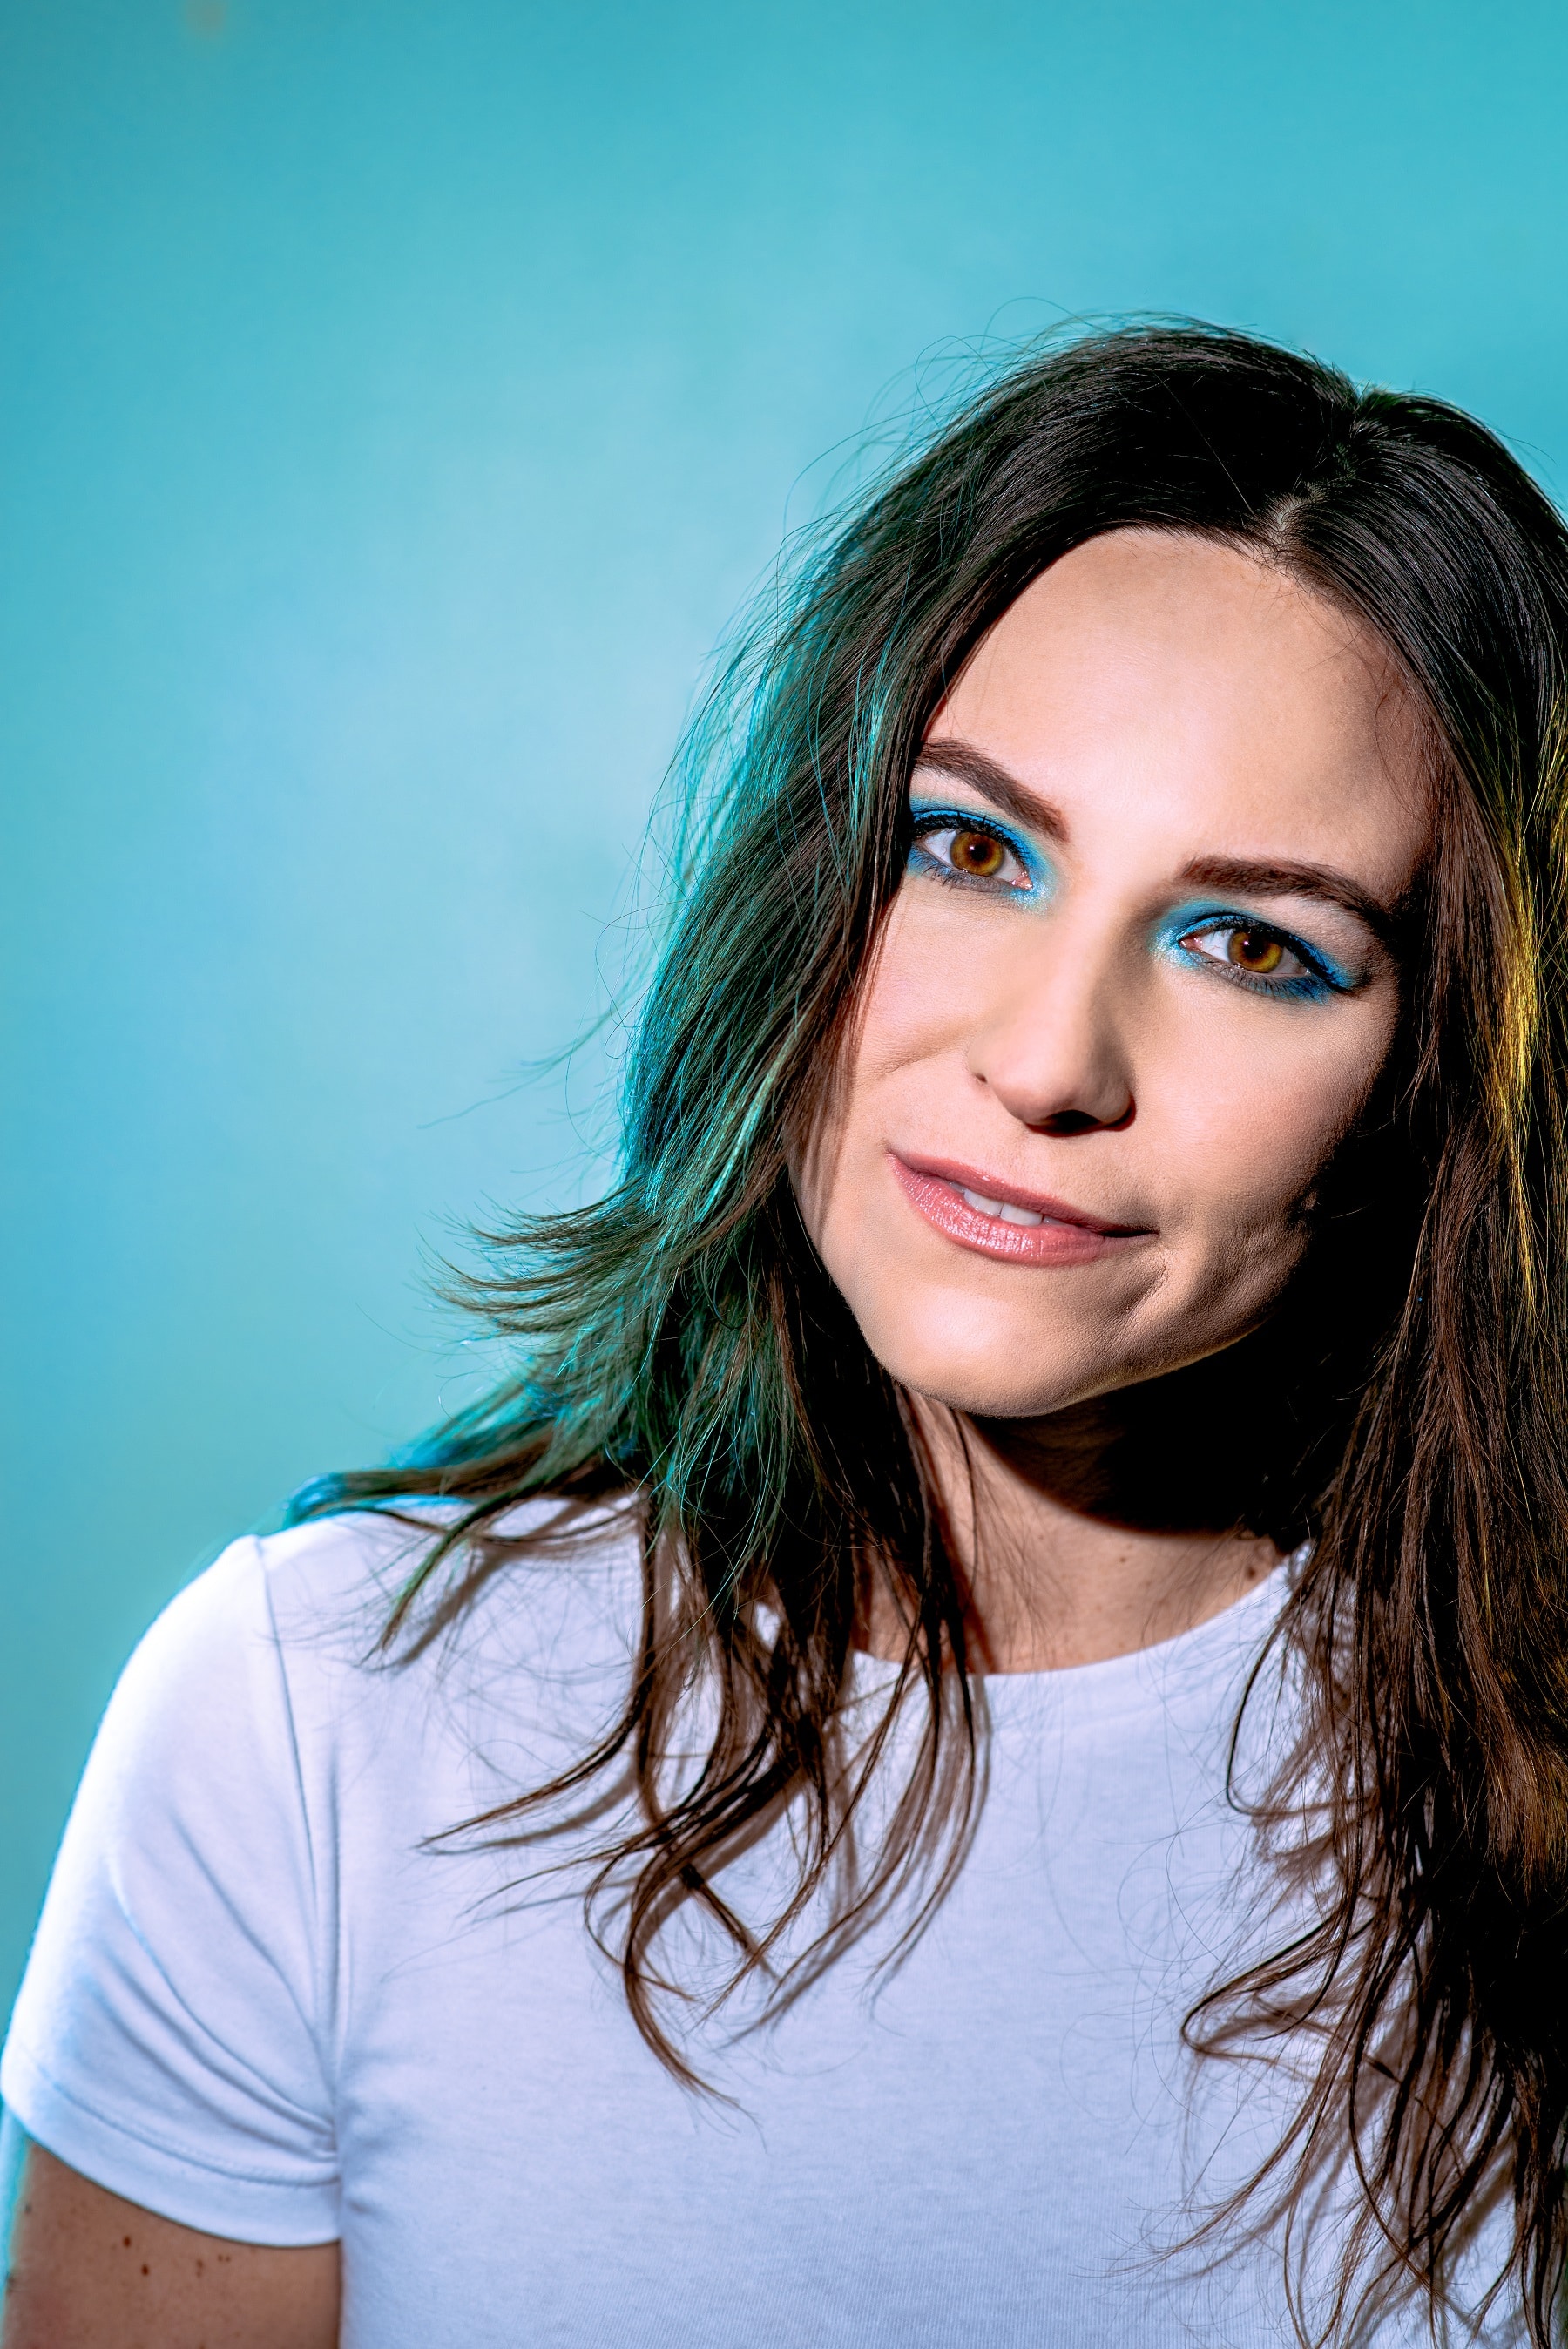
With the Donut shoot, I started the shoot by experimenting with this harsh light. I wanted that kind of flash look. I liked that it was a little bit straight on towards the model, but I also knew that as I practiced I could evolve it into something more sophisticated– which you’ll see in later Sugar Editorial Series shoots down the road.
With this style, I did have to go through a process of retouching and being more considerate of where the lighting was hitting the model’s face. That is because it is more direct.
So how do I create that harsh lighting look? This looks scary, but it’s really just a speedlite and a Bowen’s Mount that goes on a stand:
I literally just have the light aimed down at their face. On my speedlite, I have a MagMod accessory so that I can just add modifiers onto my speedlite quickly. I use this modifier for a little bit of diffusion. It’s called a grid and it’ll also help the light be more specific/direct with where it is hitting. This is exactly what was used in the Donut Series Shoot.
So, it seems pretty straightforward, but you do need to be really precise with where you aim it. You need to think about the shadows, you have to do a lot of retouching, and you need to keep in mind where you’re going to do the retouching to still keep the final image realistic.
Bubbly Bokeh with Fairy Lights
 One of the other things you can see I experimented with in camera was fairy lights. I brought the fairy lights close to the camera. So, I’m going to grab my fairy lights and show you what I did!
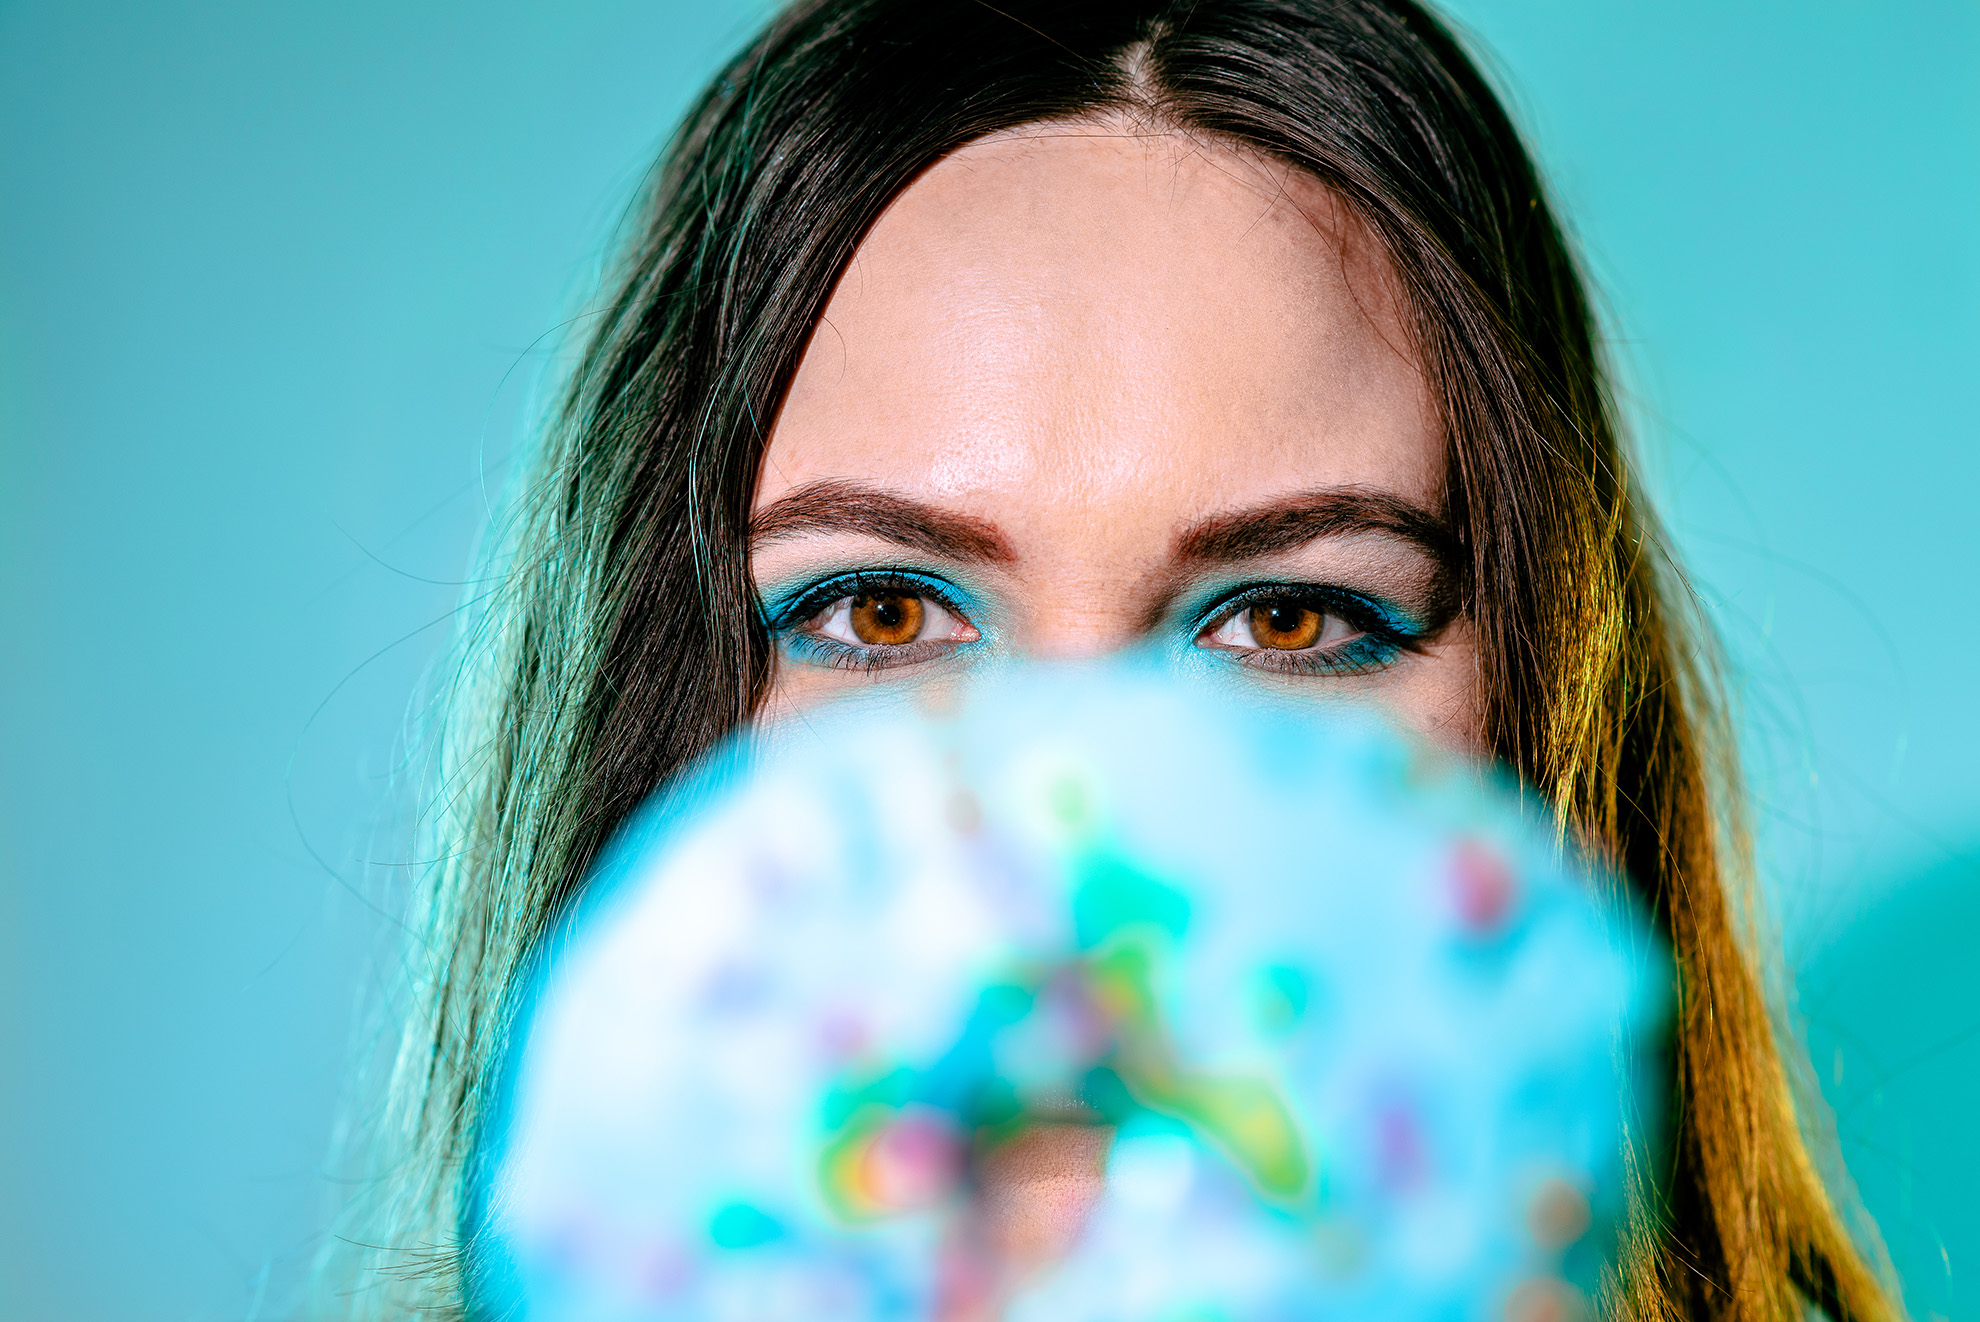
I have my fairy lights here and you’ve probably seen the pictures where they’re holding it and it goes out from or to the camera, right? And when the model does that, the image starts to get all that lovely little bokeh. Bokeh is this part right here (these little light bubbles):
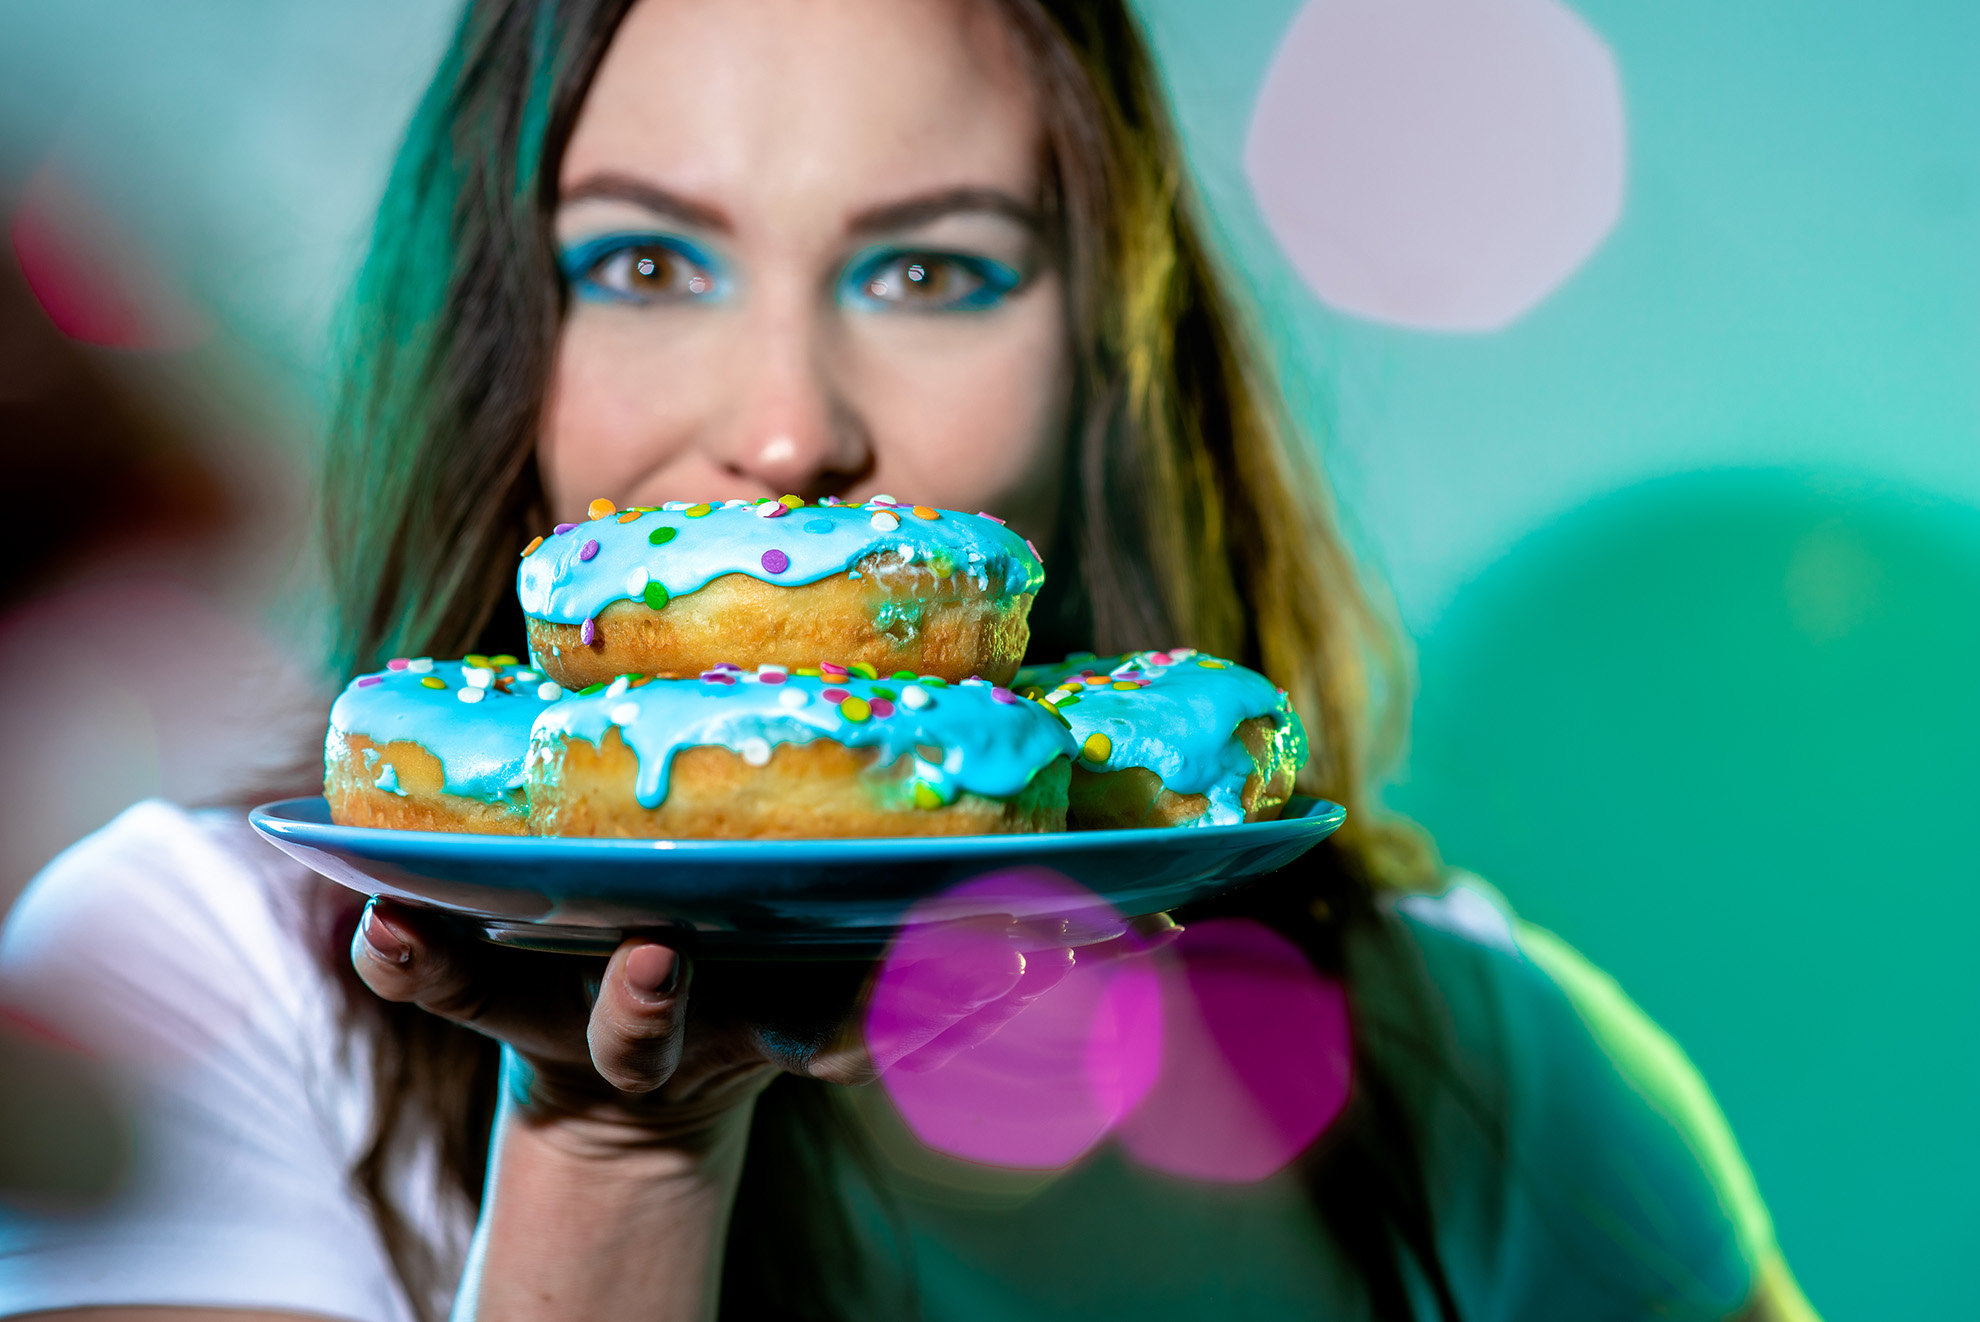
I wanted to do this and play with matching some of the colors to sprinkles on the donut. Essentially, Ijust brought it really close to camera and I played with it in different positions to see how it would work.
This technique is something that I plan to make improvements in implementing. Especially as a learned about some of the nuances of it: such as it is a little bit harder when you have speedlites in play to balance out the fairy lights.
I learned that–especially here with the Donut Shoot–that if I was utilizing speedlites, I had to be cognizant that the fairy light will behave more like ambient light since it isn’t as bright. This means it is going to appear darker in camera and won’t appear as bubbly or bright if the speedlite is too strong. So you have to take that into consideration: how much light you want on the subject, how dark you want the fairy lights to appear, and if it will be bright enough to show the true color of the fairy lights.

Editing and Post Processing
My typical retouching in photoshop consists of skin, hair, eyes, and color/light.
Skin
I’ll use a combination of frequency separation, dodge and burn, and clone stamp for retouching the skin. I aim to remove blemishes, large pores, and smooth out the skin. In this shoot, I would definitely say there are images where I can look back now and say I did a little too much smoothing. This is one of the biggest improvements I’ve seen over the past year in my retouching. As well, I can see where I could have utilized dodge and burn to better shape areas in the face.
Hair
Hair retouching is not as common among typical portrait photographers, but more common in the beauty industry. I try to find stray hairs, fill in gaps, emphasize shine/lighting, and even add volume to the hair. You can see in the video at 10:12 an example of where I have done some hair retouching in the Donut Shoot using the liquify and clone tool.
Eyes
Retouching eyes can become a HUGE game changer for your beauty/fashion photography. The key is to clean things up, add more depth, and make them POP. The easiest and cleanest technique I learned was from Phlearn: add brighter color opposite of the light source in the eye, dodge in the inside of the eye and burn the darker, outer ring of the iris to create depth, and lastly sharpen and clean up any areas distracting to the eye (this can be redness, hair, etc.). You can see more of an example of this at 10:18 in the video.
Light & Color
In the Donut Shoot, I did adjustments to the coloring of the skin, gradient coloring of the background, and lighting of the subject in Photoshop. Color grading and evening out distracting colors in the background is KEY to creating a more compelling image. You can see an example of this in the video at 13:06 and 15:29.
Before and After
Below, you can see some SOOC (straight out of camera) and the final images! Check it out:


Challenges: How many ways can you hold a doughnut?
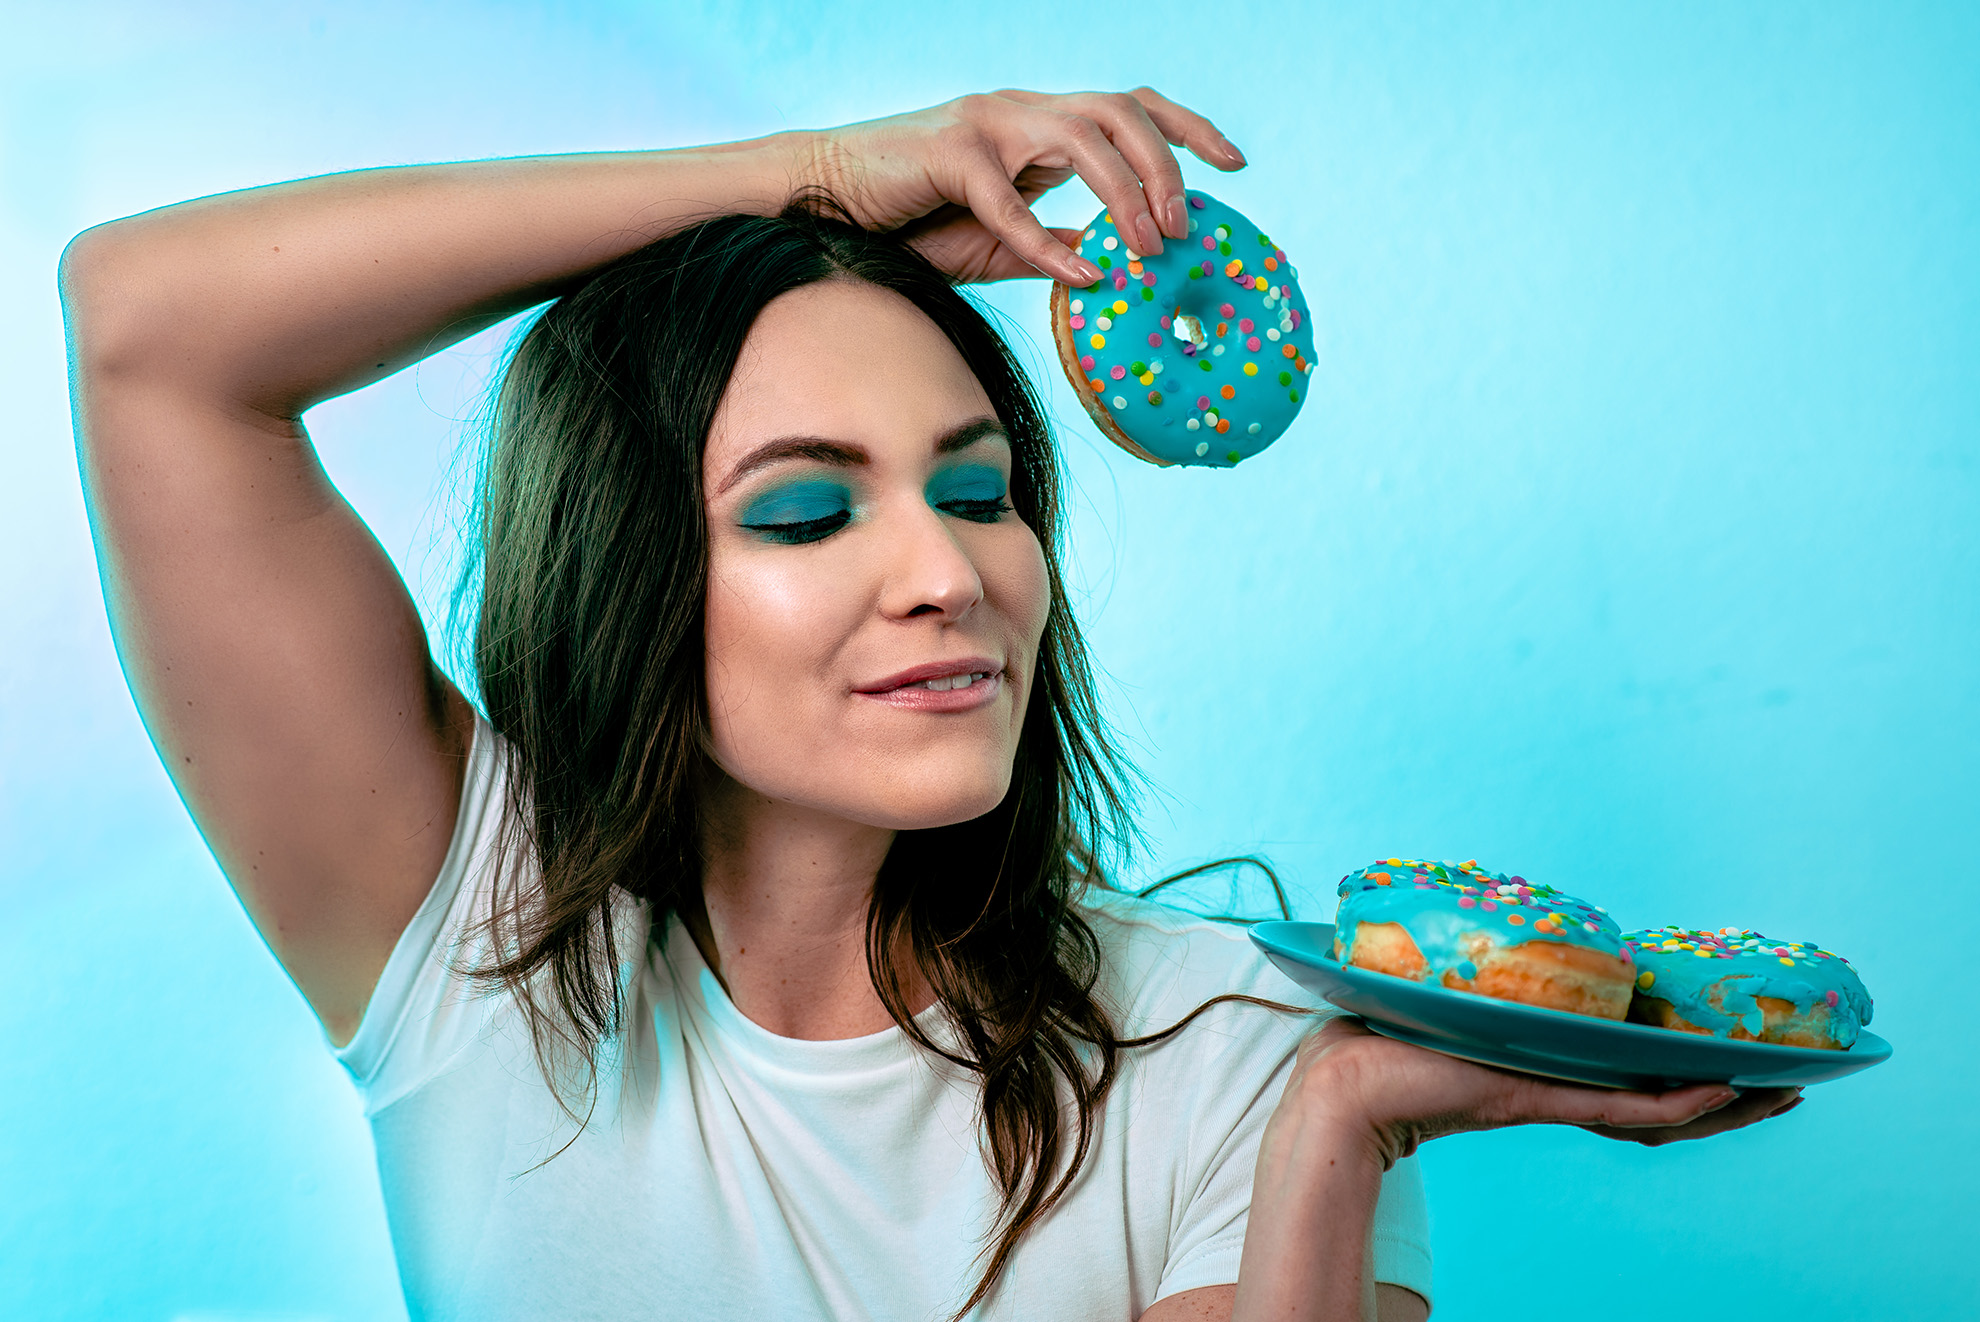
One of the biggest challenges with this shoot, was trying to figure out ways to incorporate the donut in a lighthearted, carefree way. I mean, how many ways can one person realistically hold a donut? I tried to work the donuts into the image by varying three things: depth, balance, and the shape.
Depth was easy to experiment—I could have the model bring one or two donuts closer to camera and farther from camera. Putting different items in the foreground helps create dimension and depth naturally. I also wanted to see what I could do with creating bokeh with the actual donut.
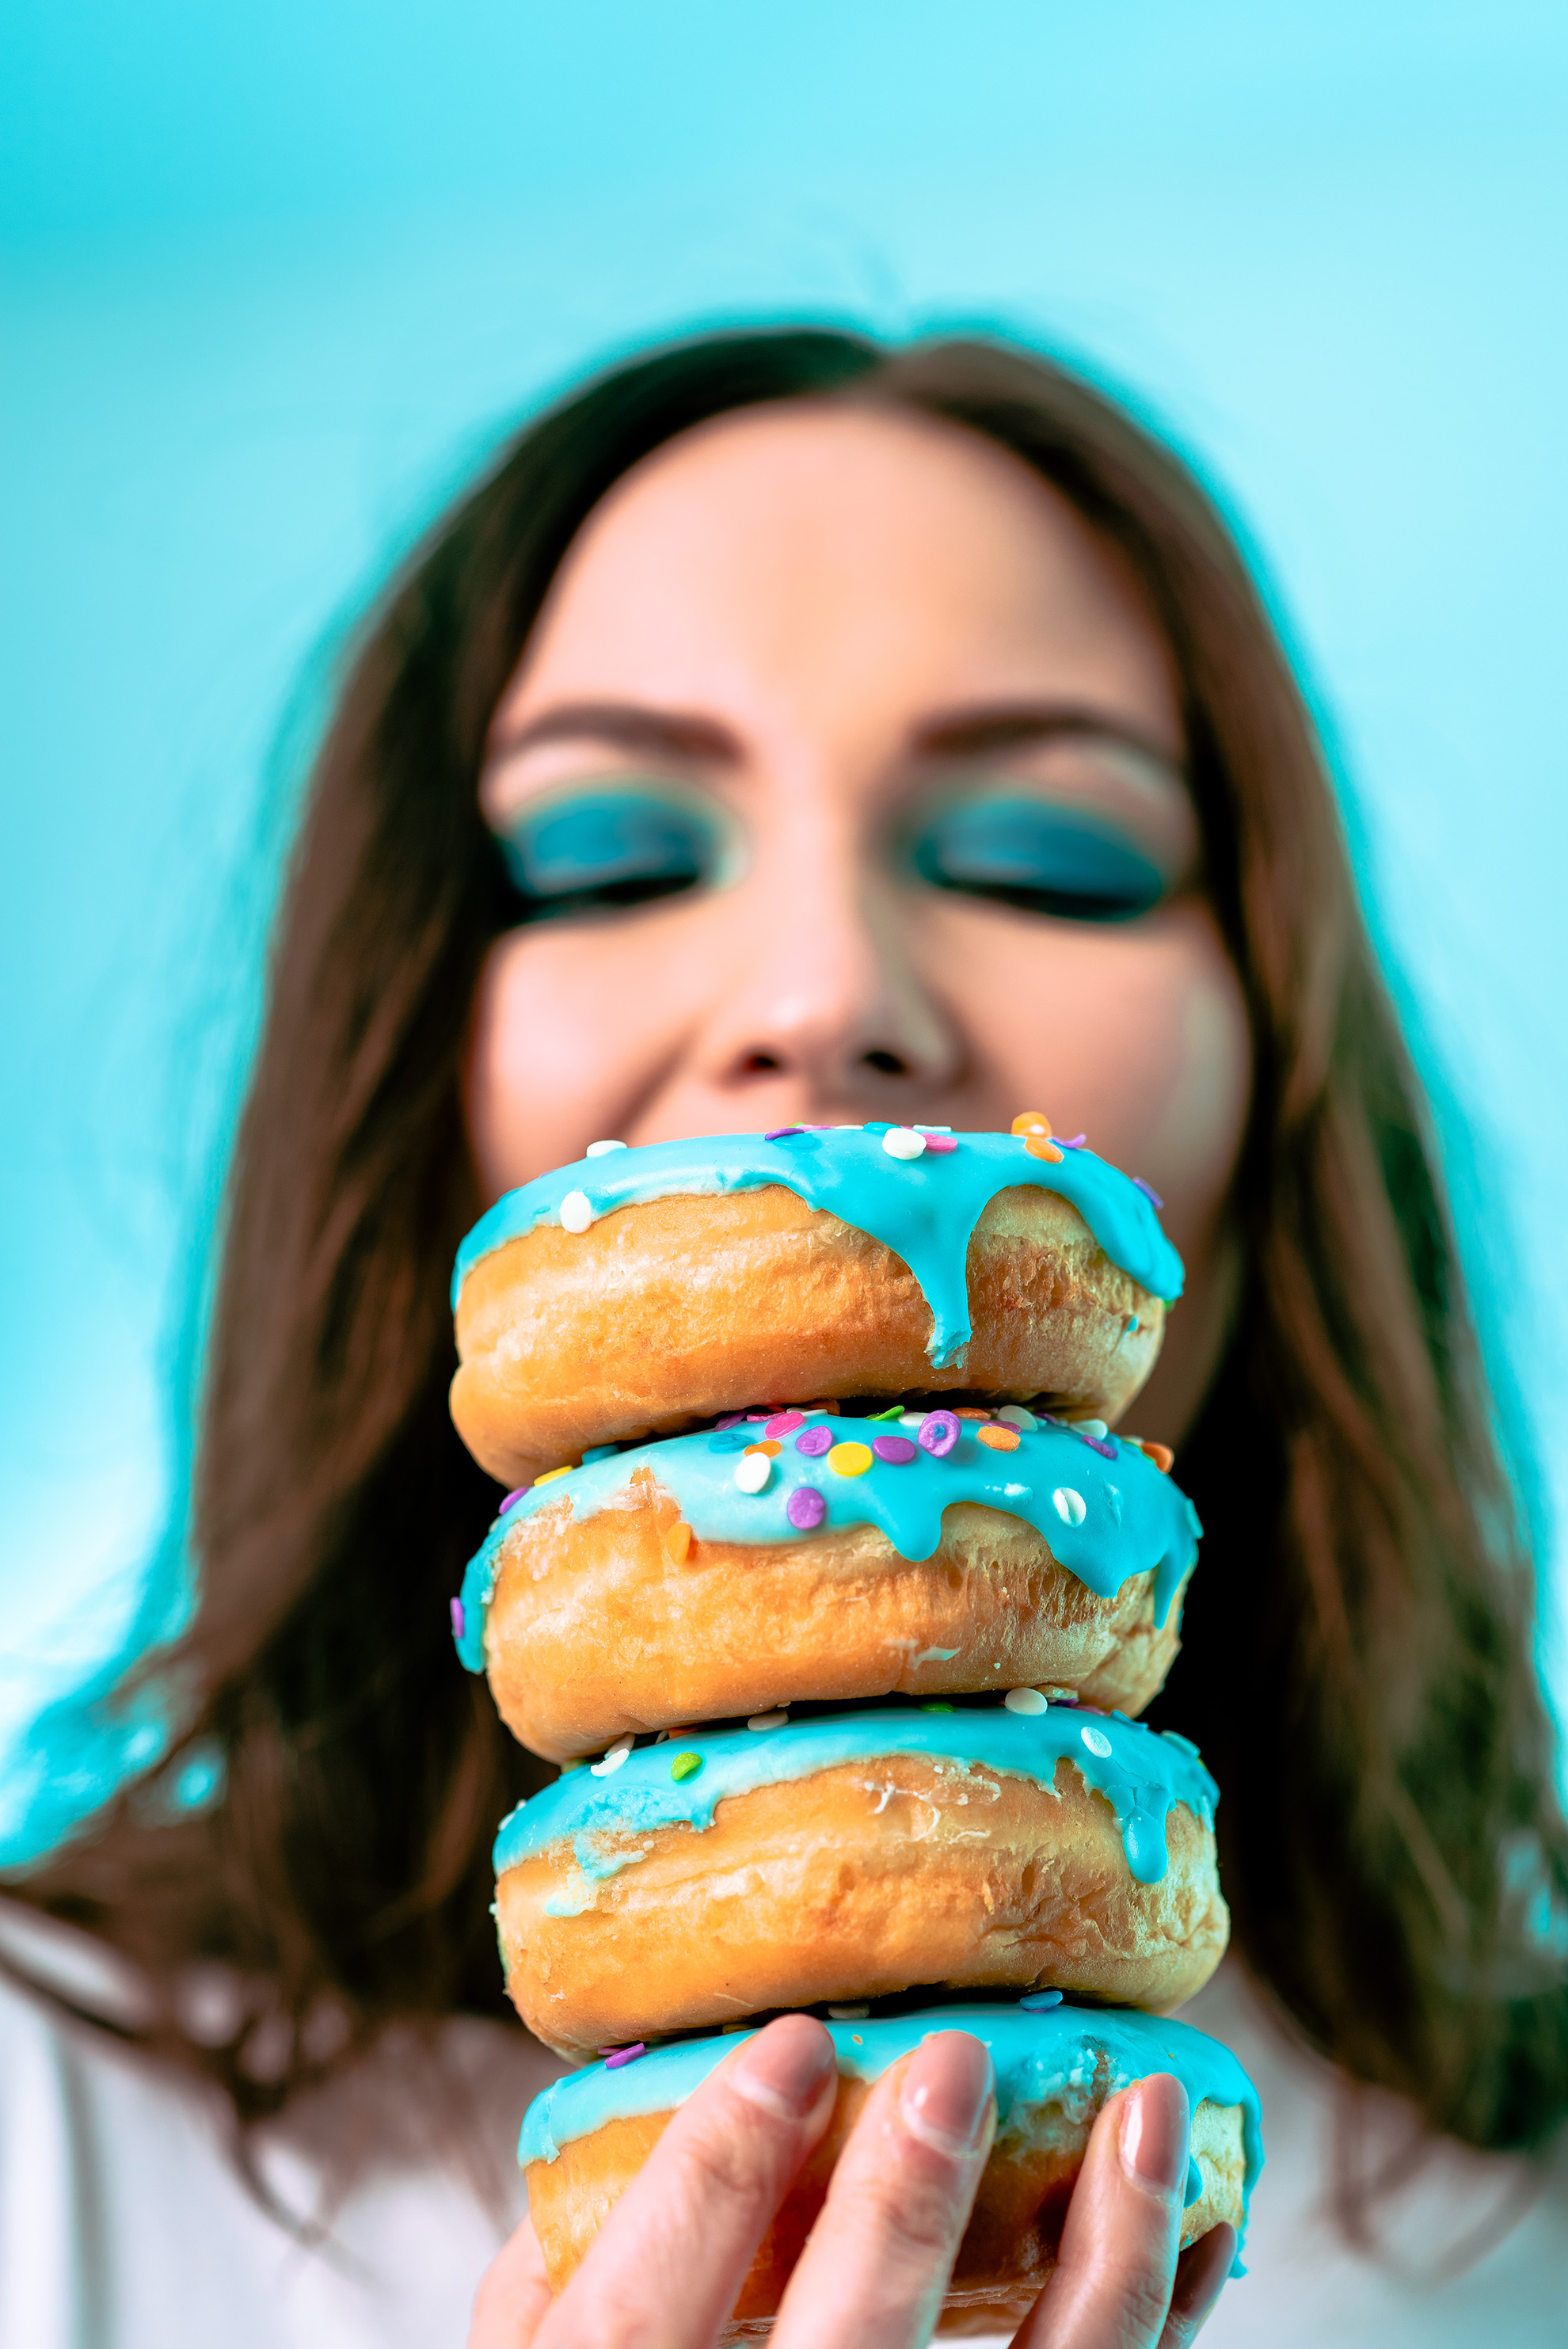
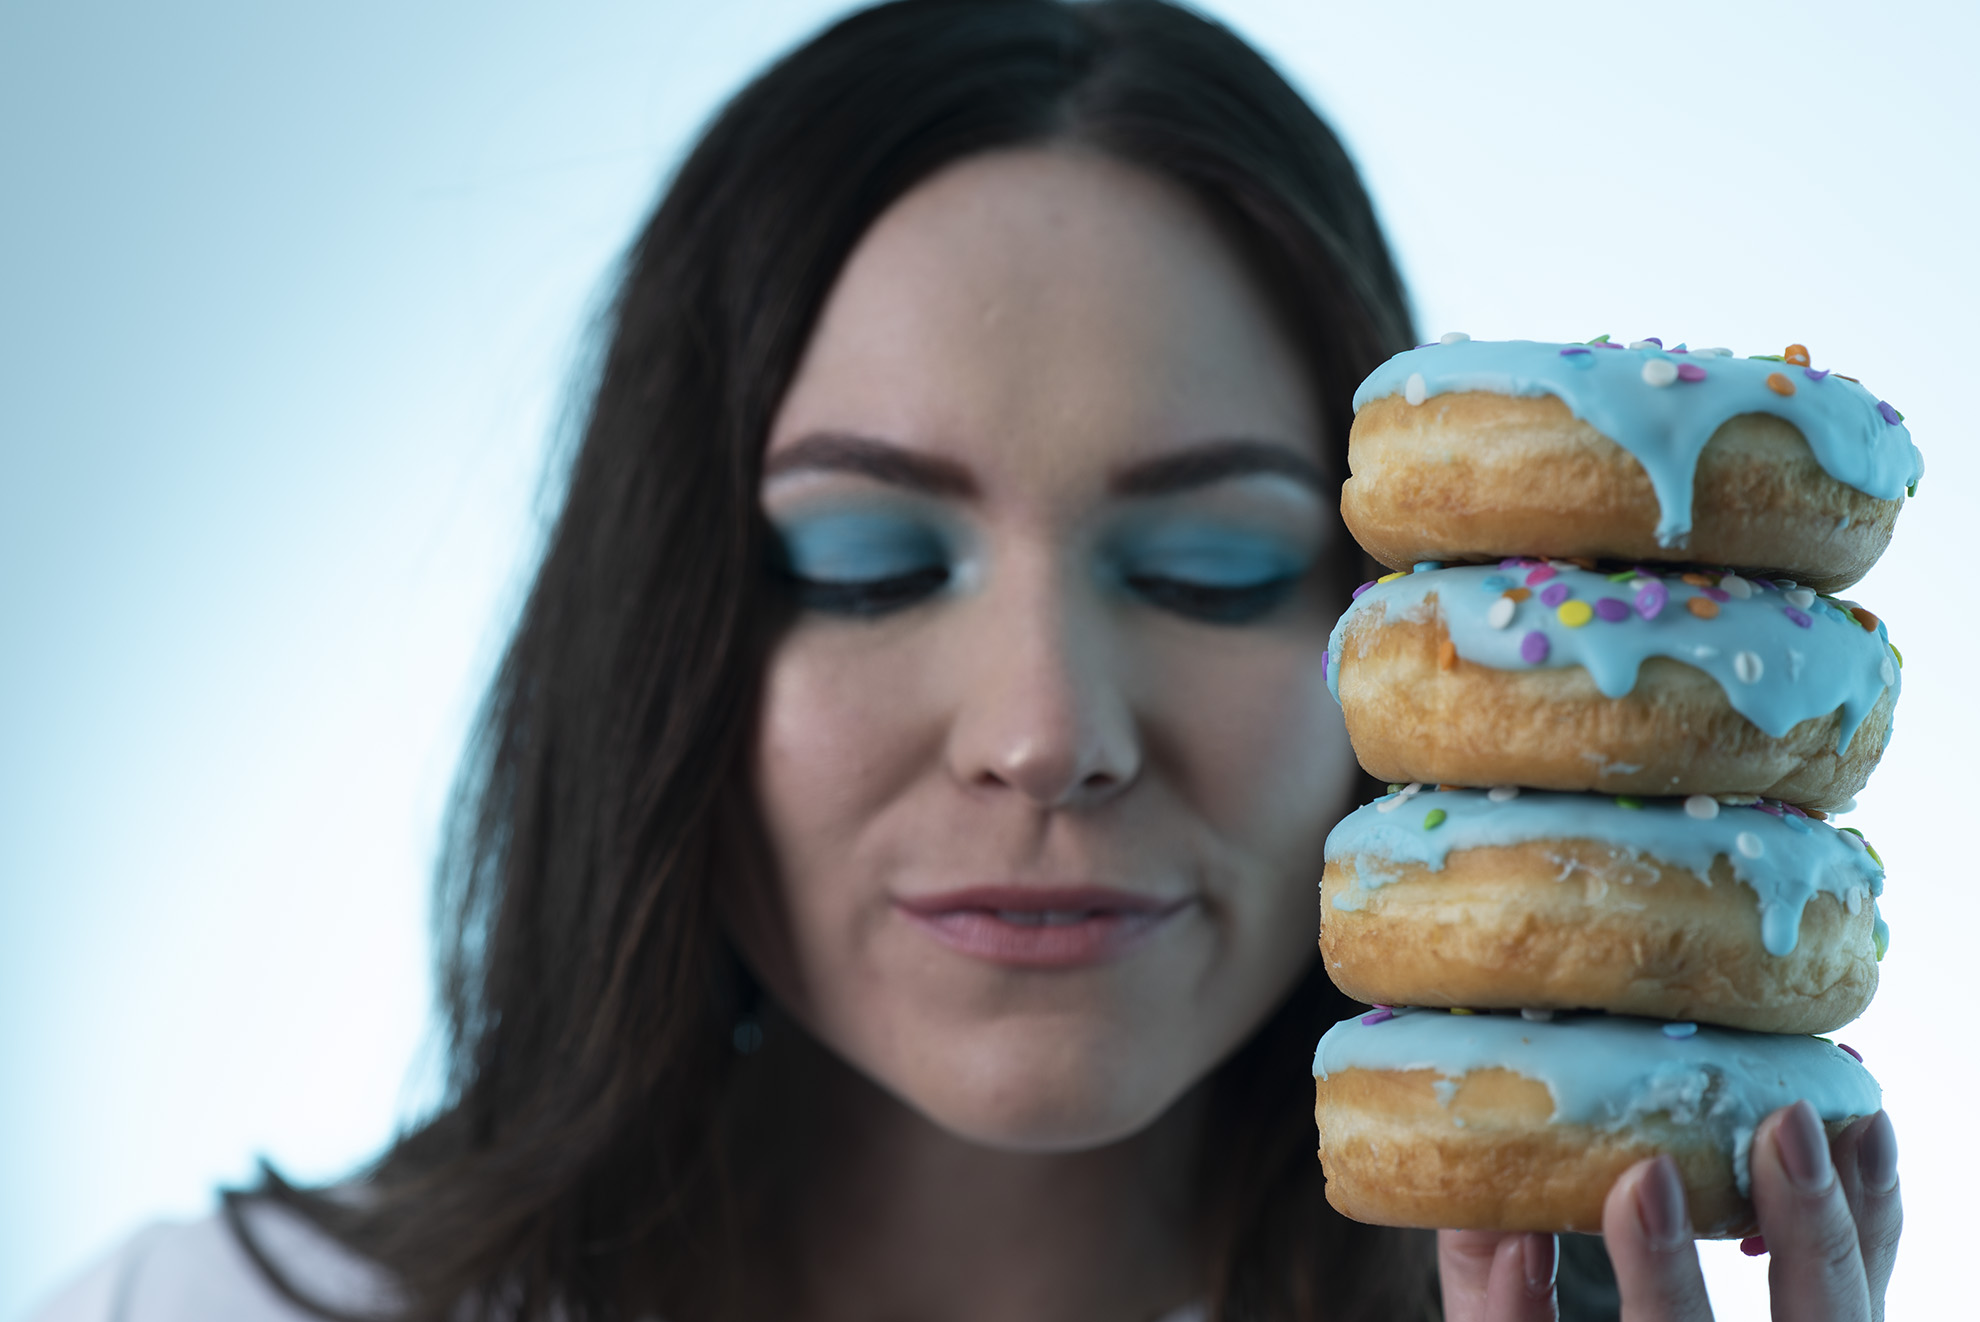
Balance was a little bit more tricky. I knew by keeping all the donuts on the same plane, I could play with where in the camera frame the donuts where without having too much in foreground and background. But how do you create balance with a donut? By stacking them on a plate and on each other! This turned out to be one of the most successful ways of creating variety with the donut images.
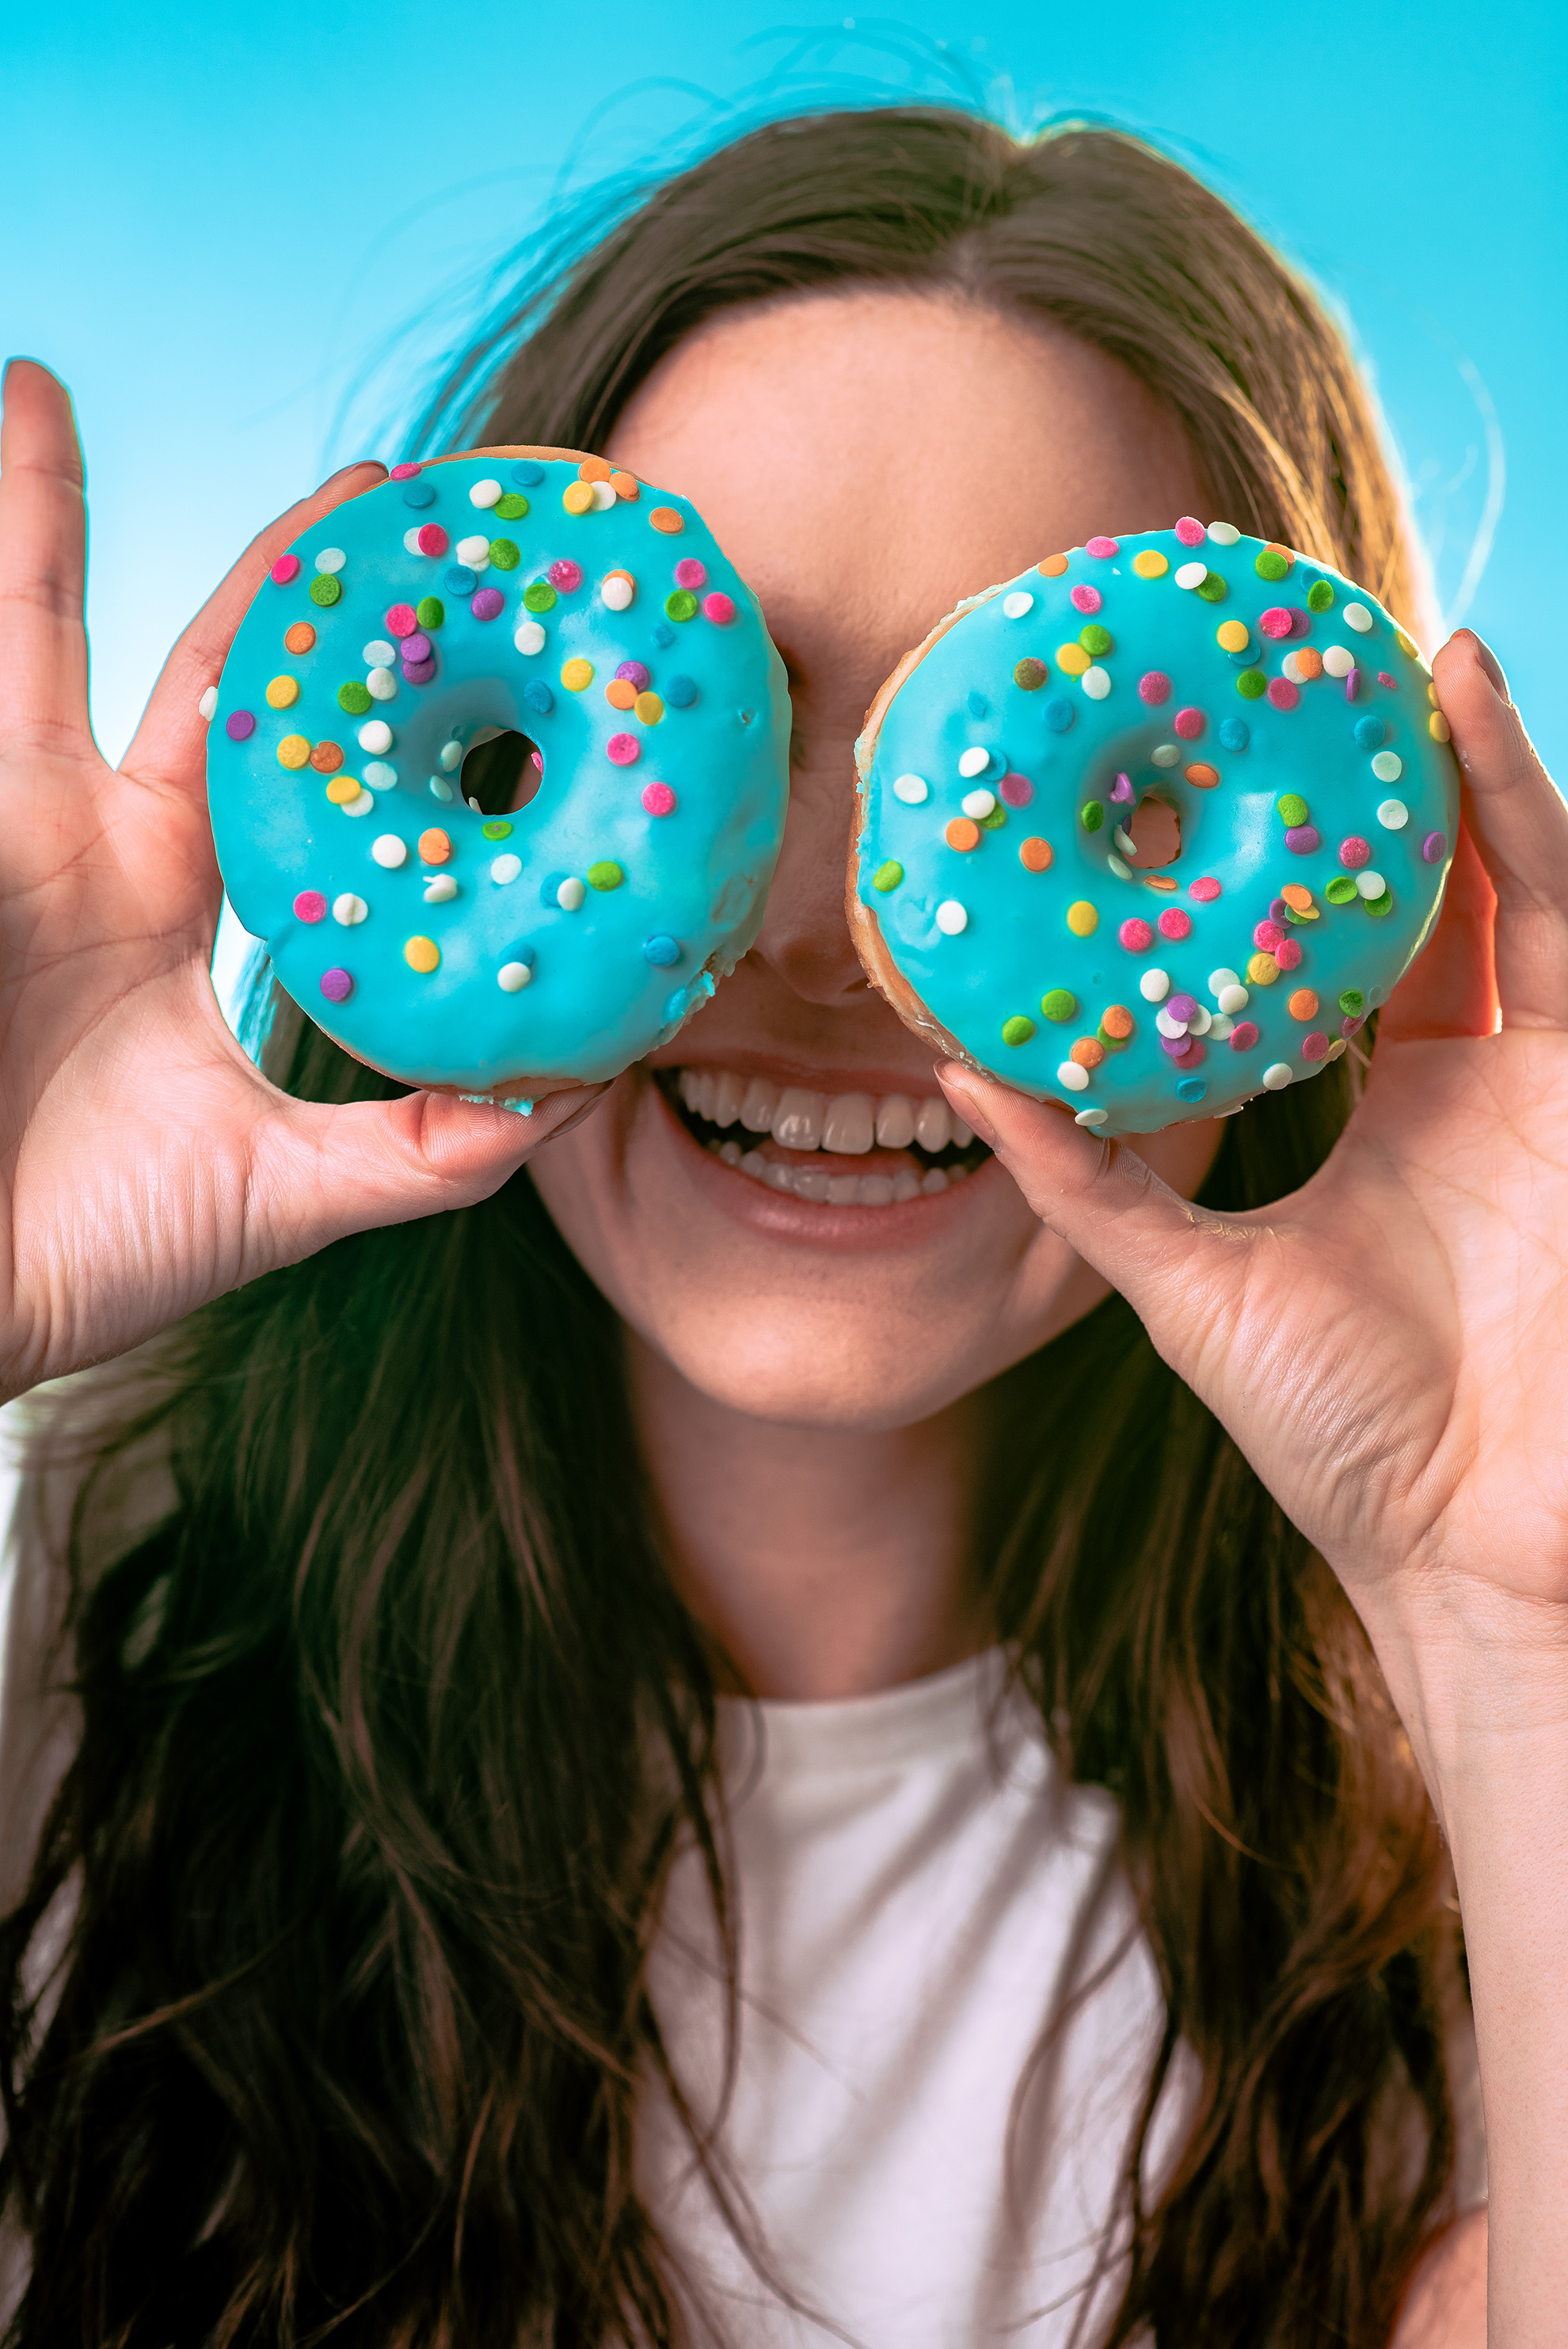
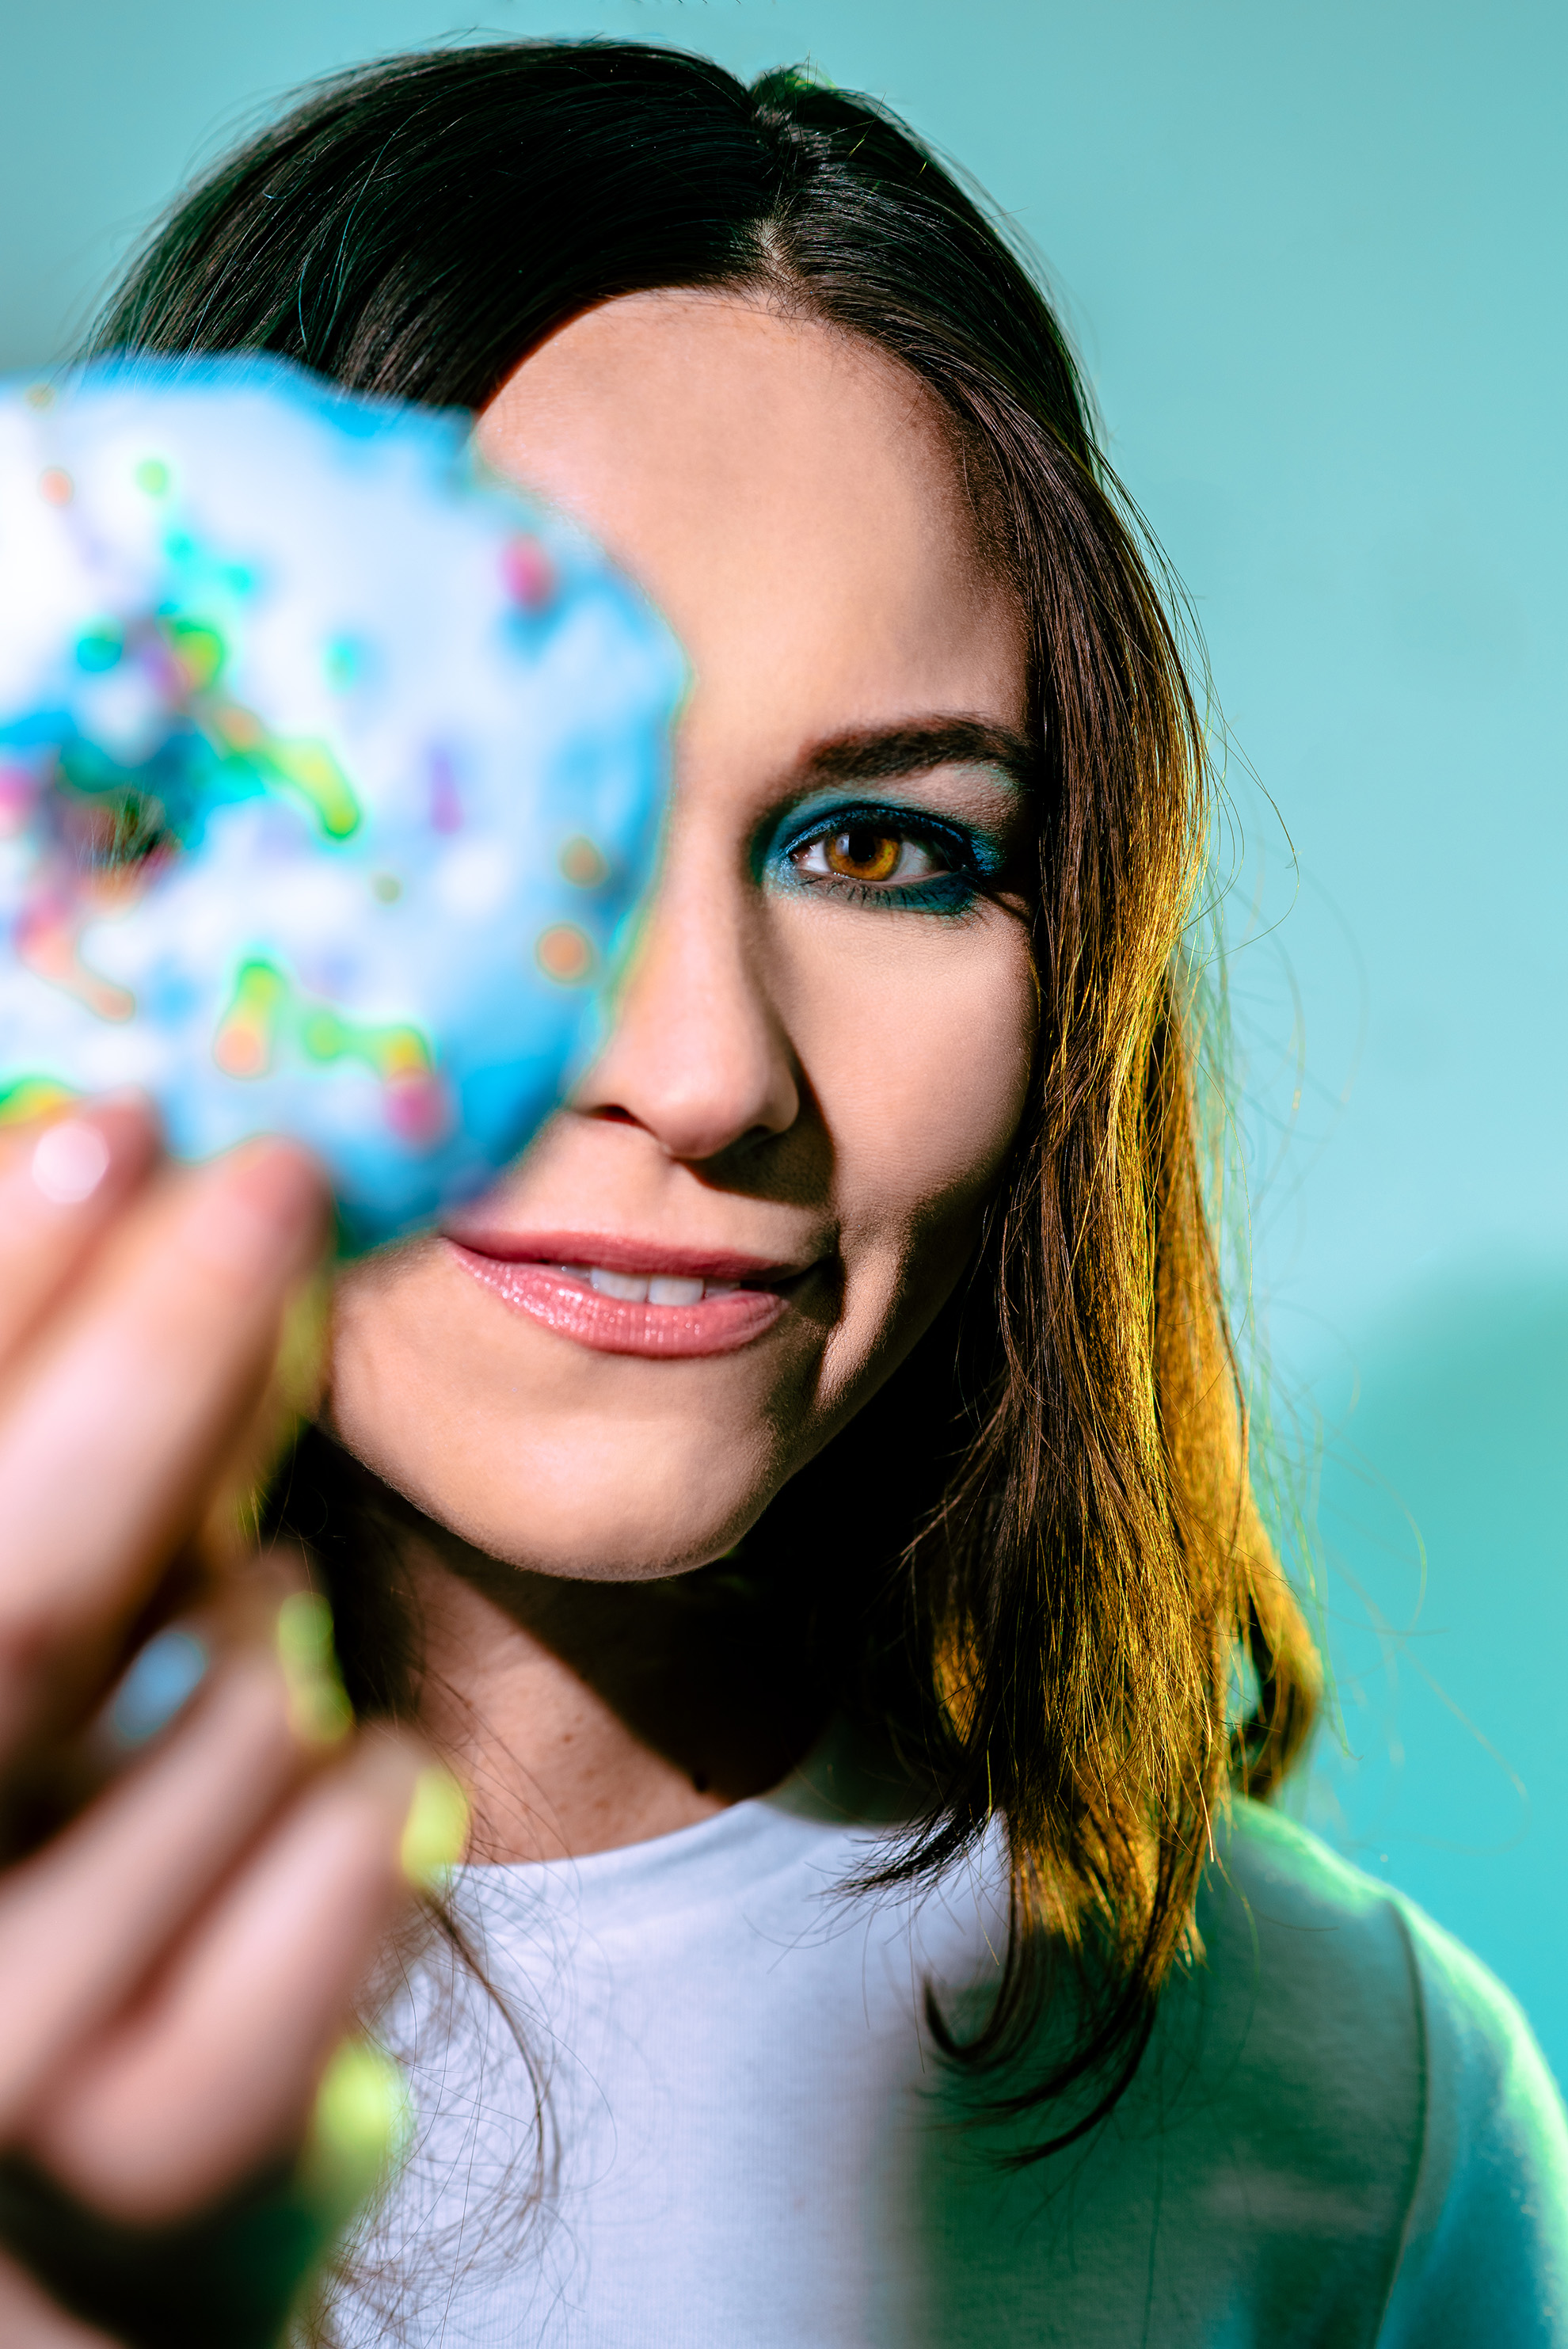
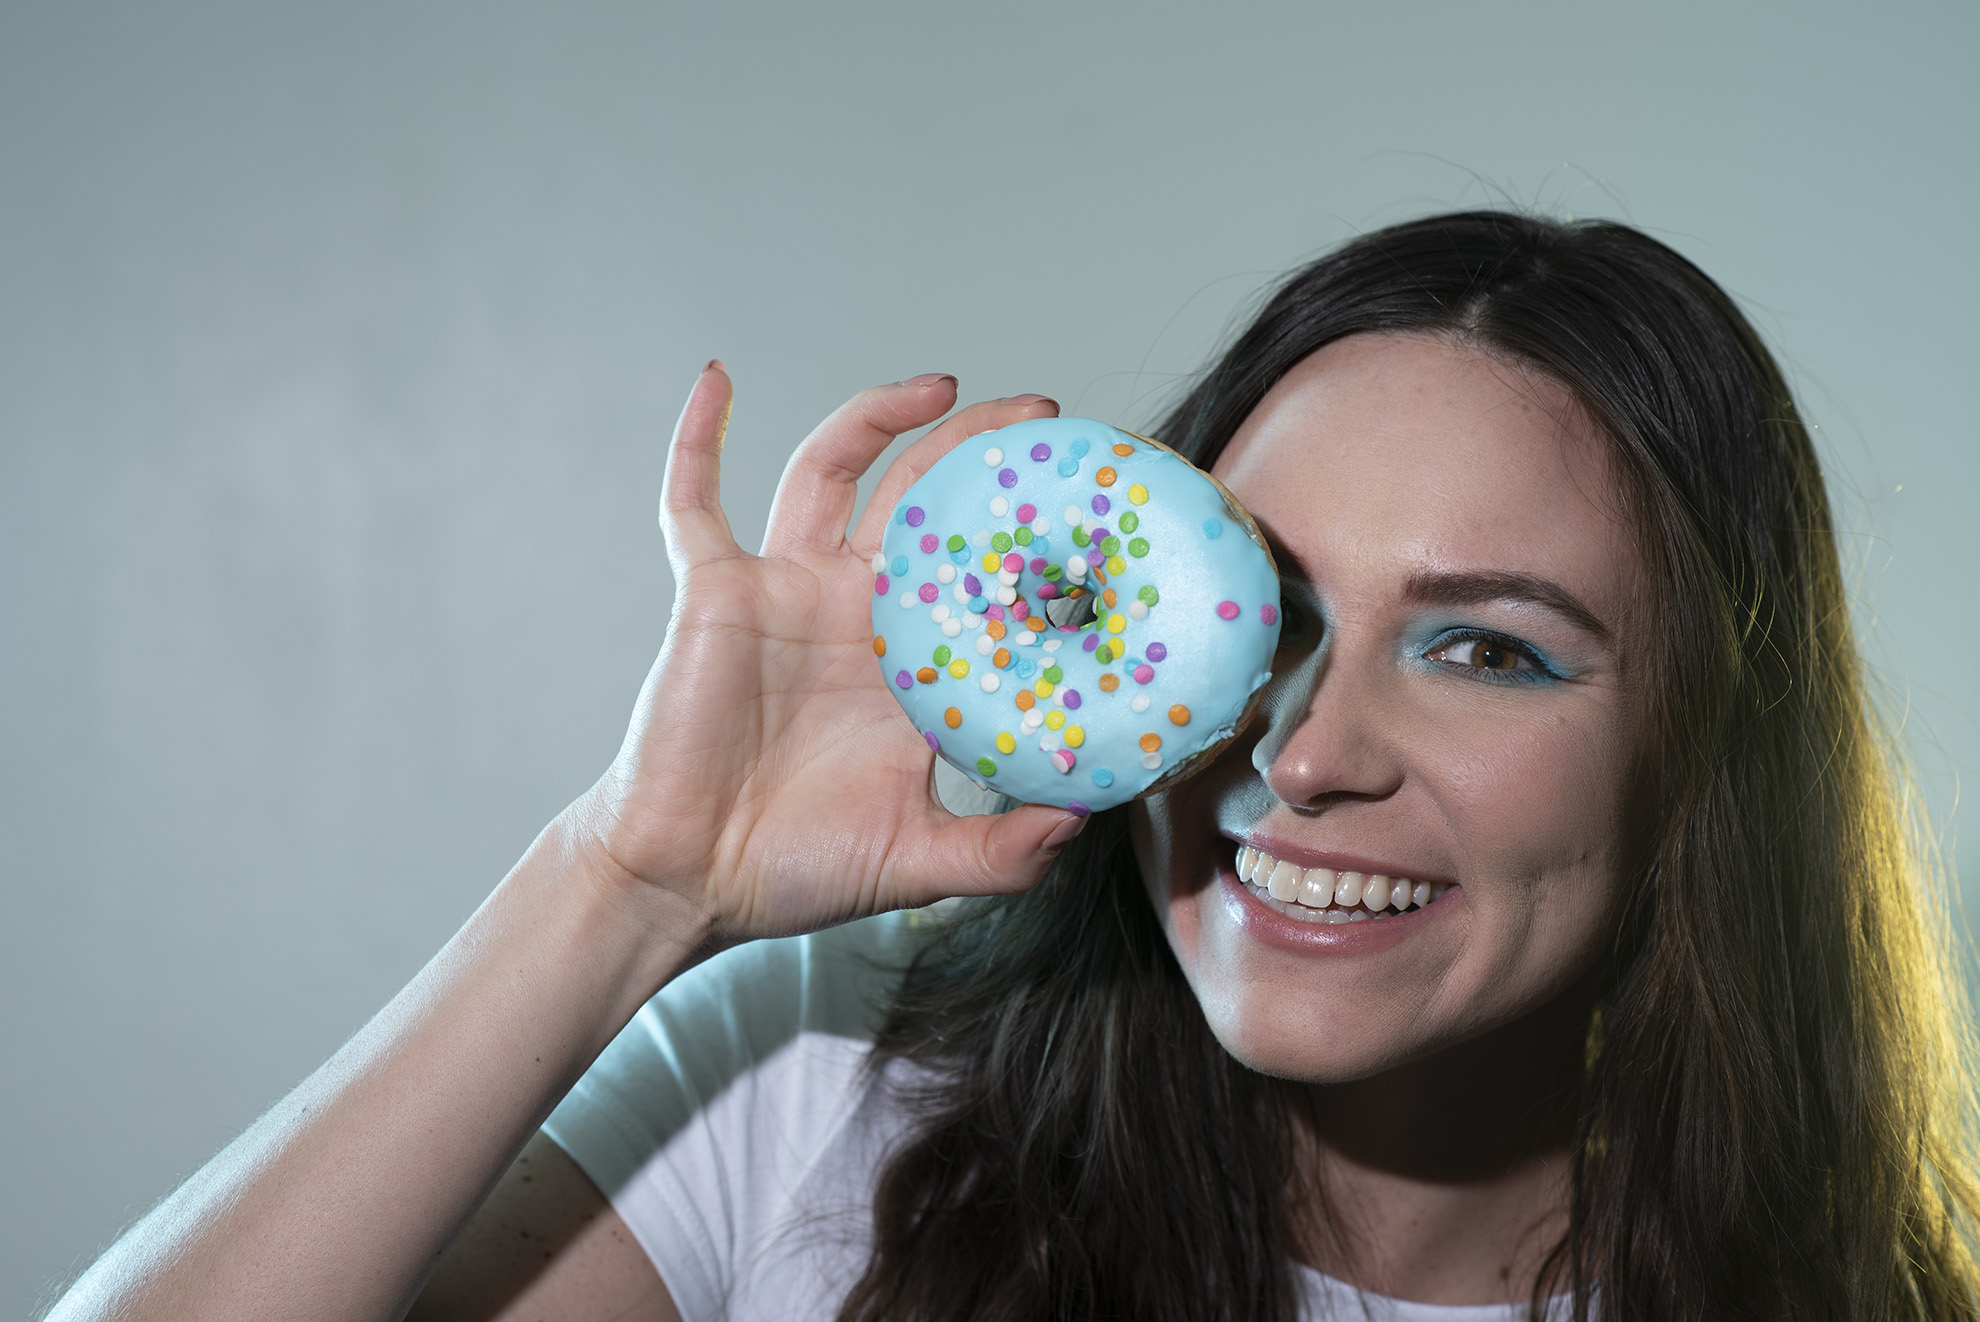
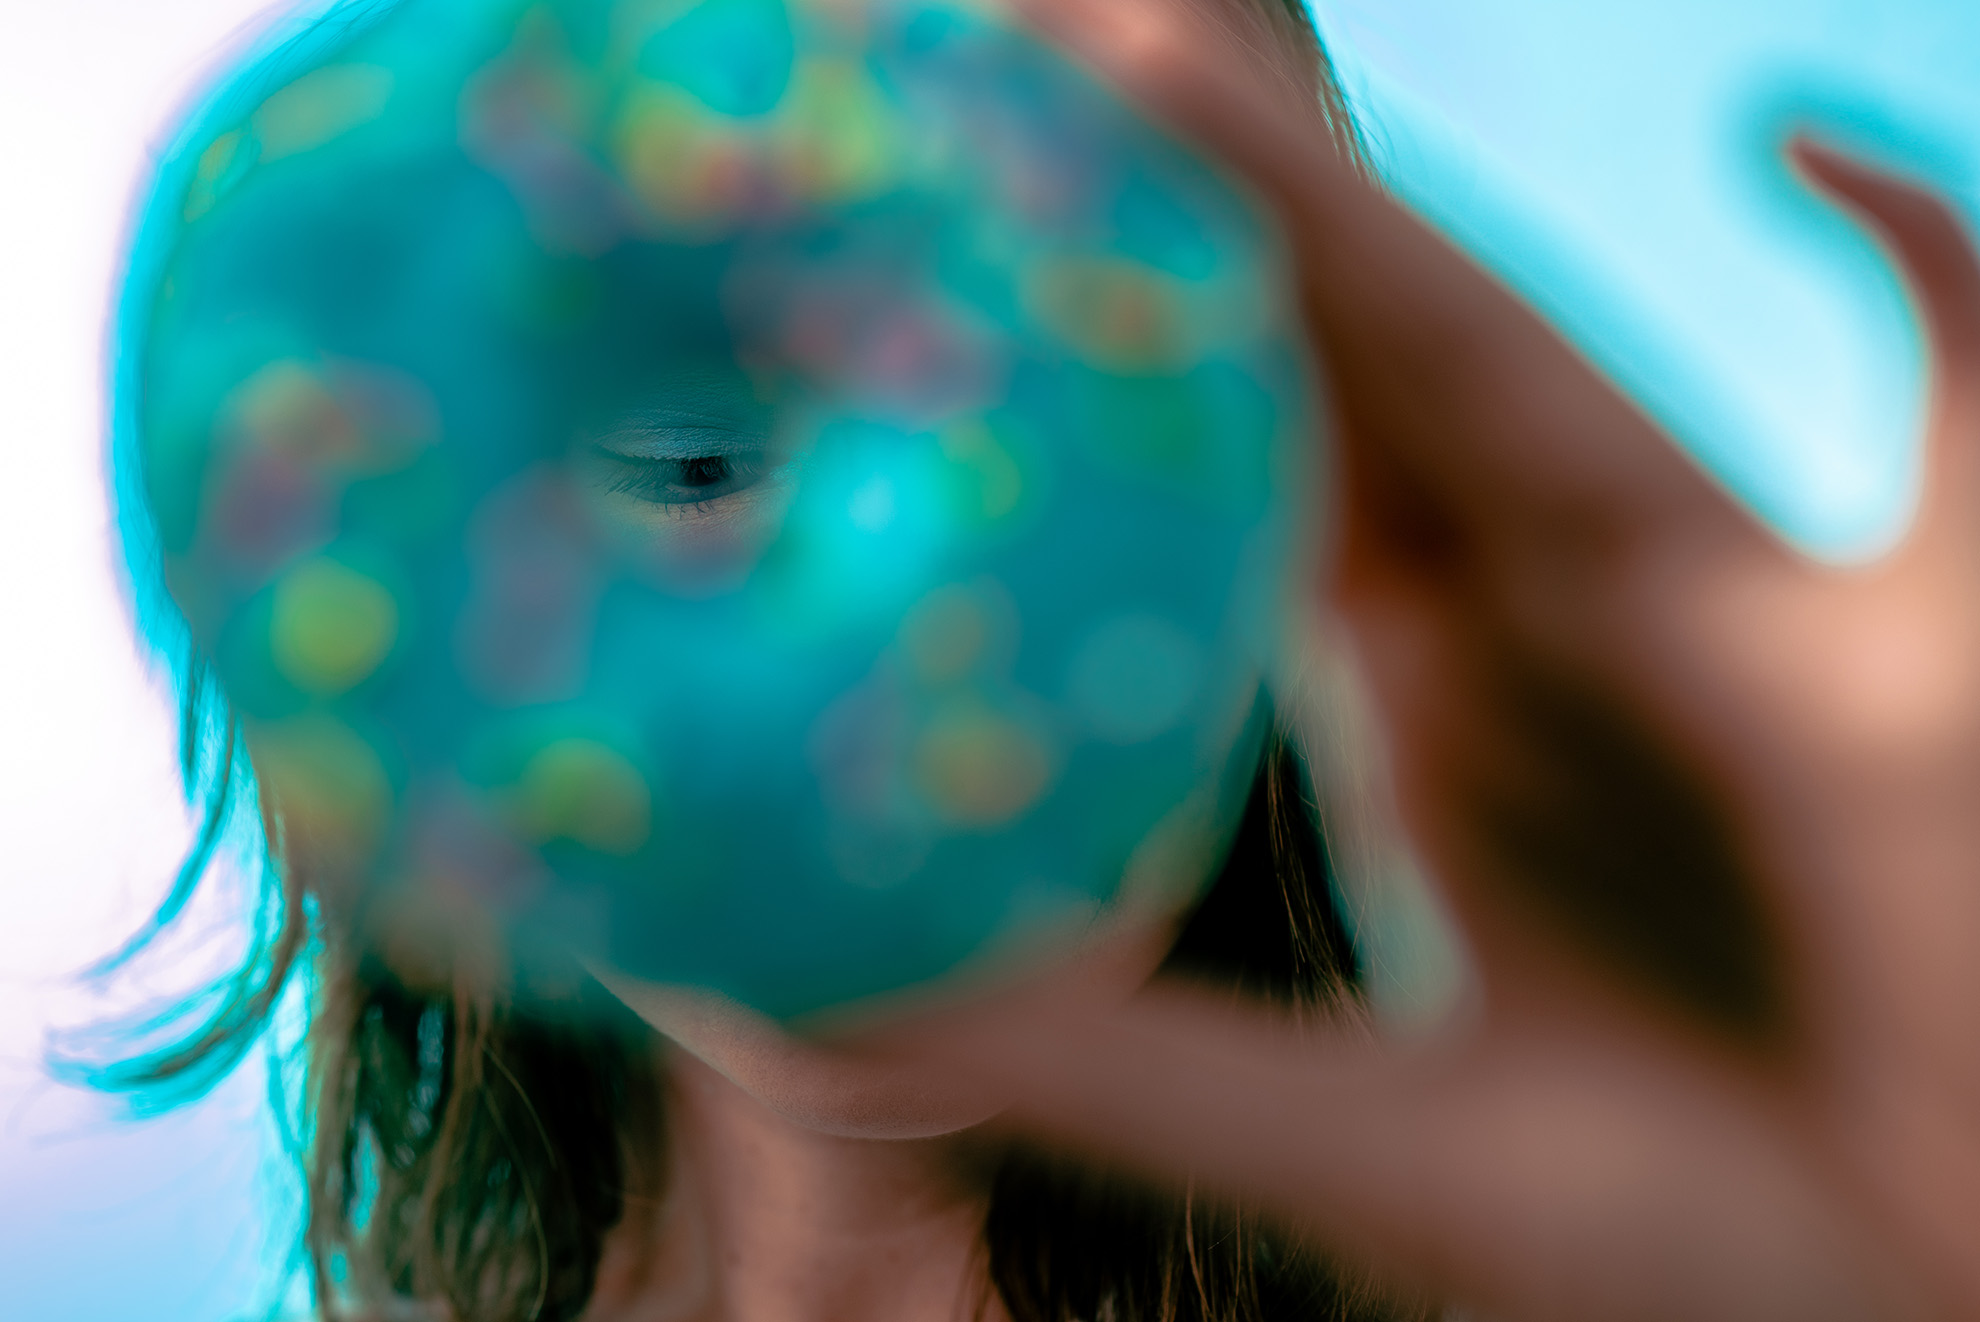
Everyone knows the classic donut shape—a round circle with a hole. This is something I really wish I would have had more thought put into before the shoot. I think there is a lot of opportunity for playing with that shape in different ways! I tried to incorporate this by using the hole as a way to “look through” it. Although not my most successful method, it was definitely fun trying it out and has given me some good insight for thinking about shape in future shoots.
Check out the Gallery of images below:


